A professional facial at home takes about 45 minutes and costs whatever you already spend on cleanser and mask. Most people stop at one cleanse, which leaves sunscreen and makeup sealing the pores so nothing after it penetrates. The double cleanse fixes that: 60 seconds of oil first, then 60 seconds of gel, both with the same small circles a facialist uses. The mistake is rushing either round, because buildup turns the rest into expensive layering over half-clean skin.
1. Double Cleanse
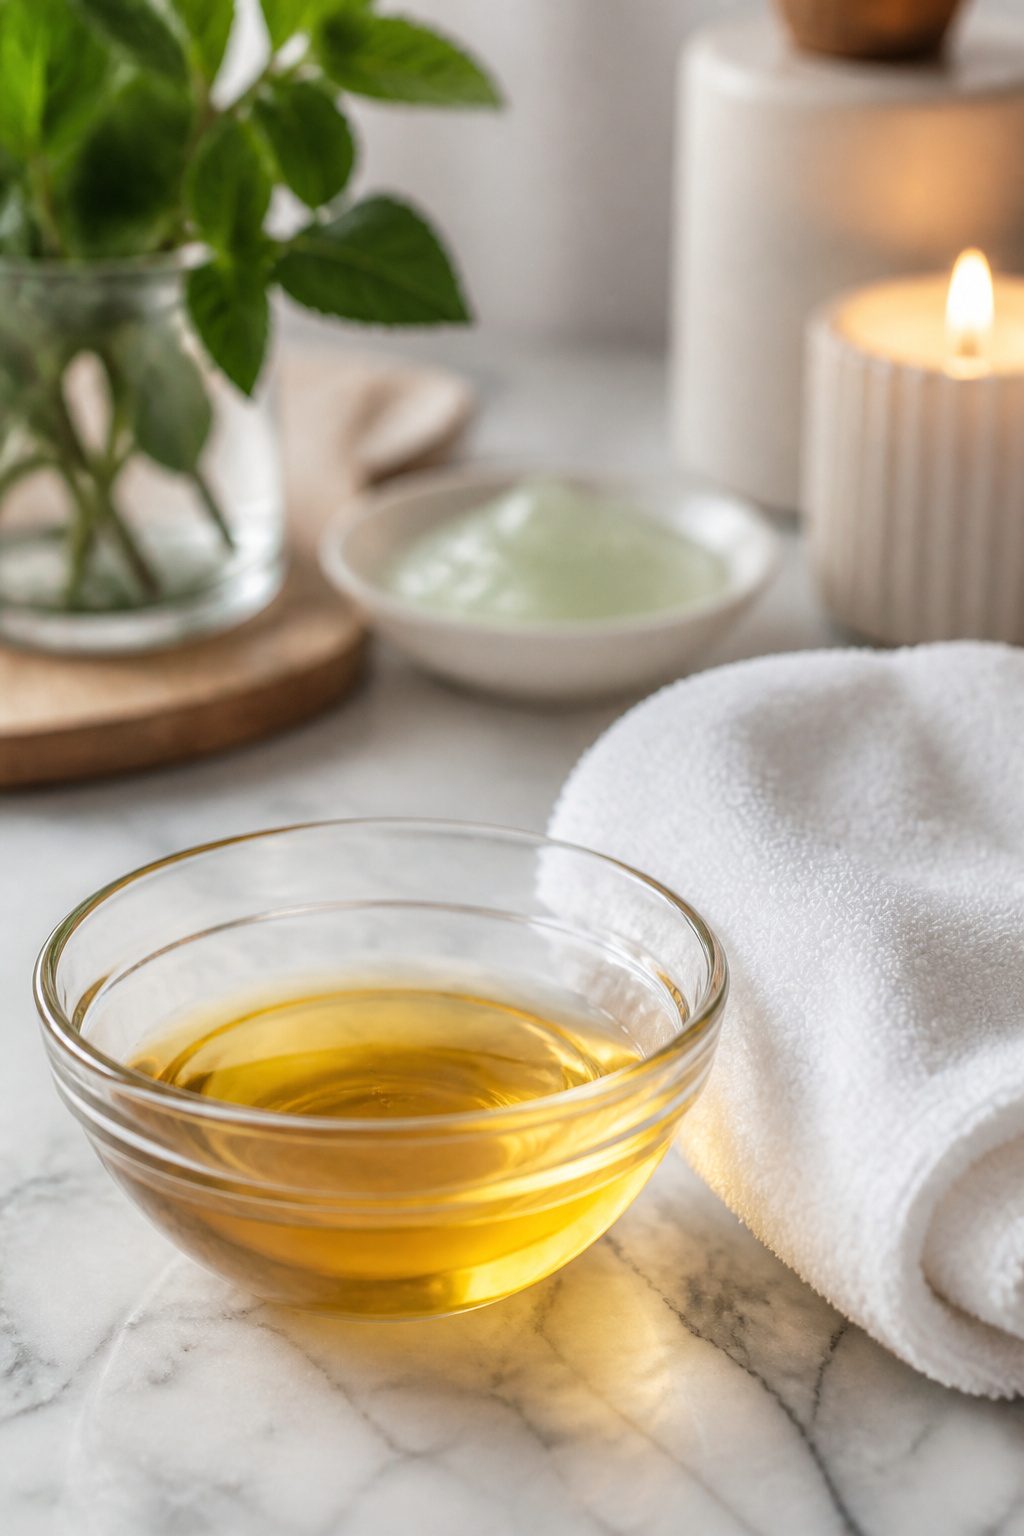
A single pass with face wash leaves behind more than you think. Makeup, sunscreen, and the day’s oil sit on top of the skin in a layer water-based cleansers cannot fully break down. The first cleanse needs to be oil-based for this reason: the emollients in your SPF and foundation dissolve when they meet similar emollients, not when they meet soap. Massage that oil cleanser over dry skin for a full 60 seconds before rinsing, using small circular motions that reach the neck and décolletage too.
The second cleanse is where the actual cleaning happens. A sulfate-free gel or light foam lifts away what the oil loosened, plus any residue the first round left behind. Skipping straight to this step and the emollient layer acts like a seal, blocking the cleanser from reaching pores. Those 60 seconds of massage matter again here: the facialist Georgia Louise notes that rushing either step leaves buildup intact, and buildup is what turns the rest of your facial into an expensive act of layering products over half-clean skin.
2. Steam
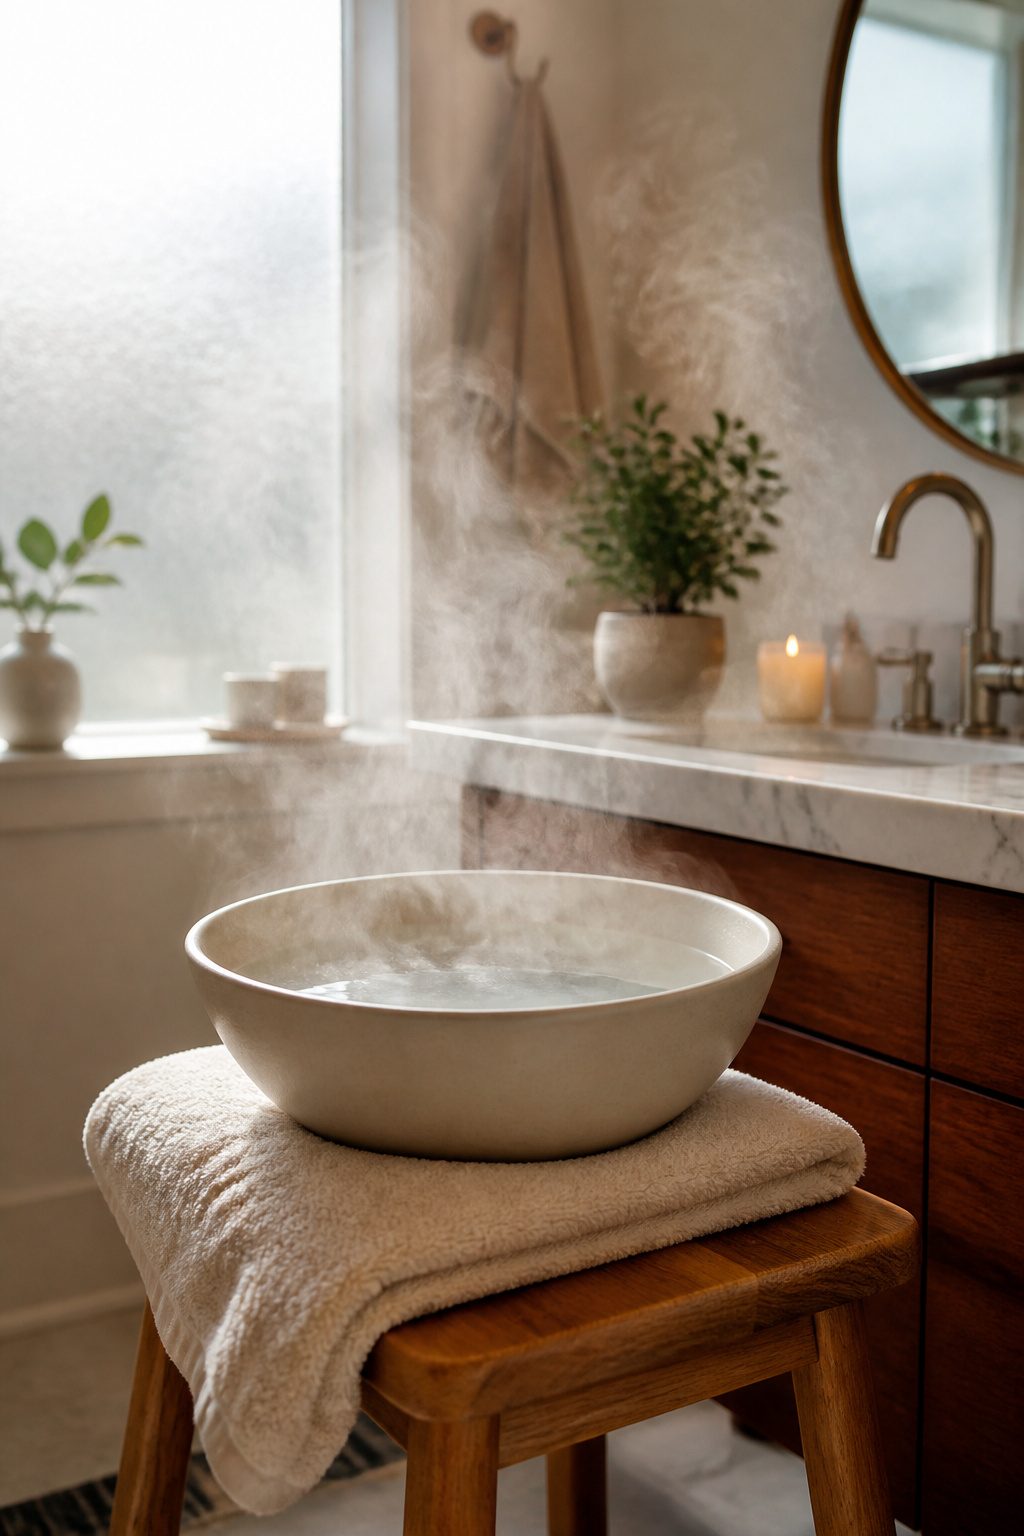
Steam softens the gunk inside pores and makes skin more receptive to whatever comes next, whether that is a serum, a mask, or gentle extractions. A facial steamer does the job neatly, but a large bowl of hot water works just as well if that is what you have on hand.
The safe way matters more than the tool. Pour the water, drape a towel over your head to trap the steam, and hover 6 to 8 inches above the surface. Test the temperature on the back of your hand before committing your face to it. Five to ten minutes is the window; longer than that risks dehydrating the skin instead of prepping it.
You never want to leave skin bare after steaming because it will get tight and you will lose all that moisture.
That means the next step, whether it is a mask or moisturizer, should be ready to go before you even start. If you have melasma or another skin condition that heat aggravates, skip this step entirely or ask a dermatologist first.
3. Exfoliate
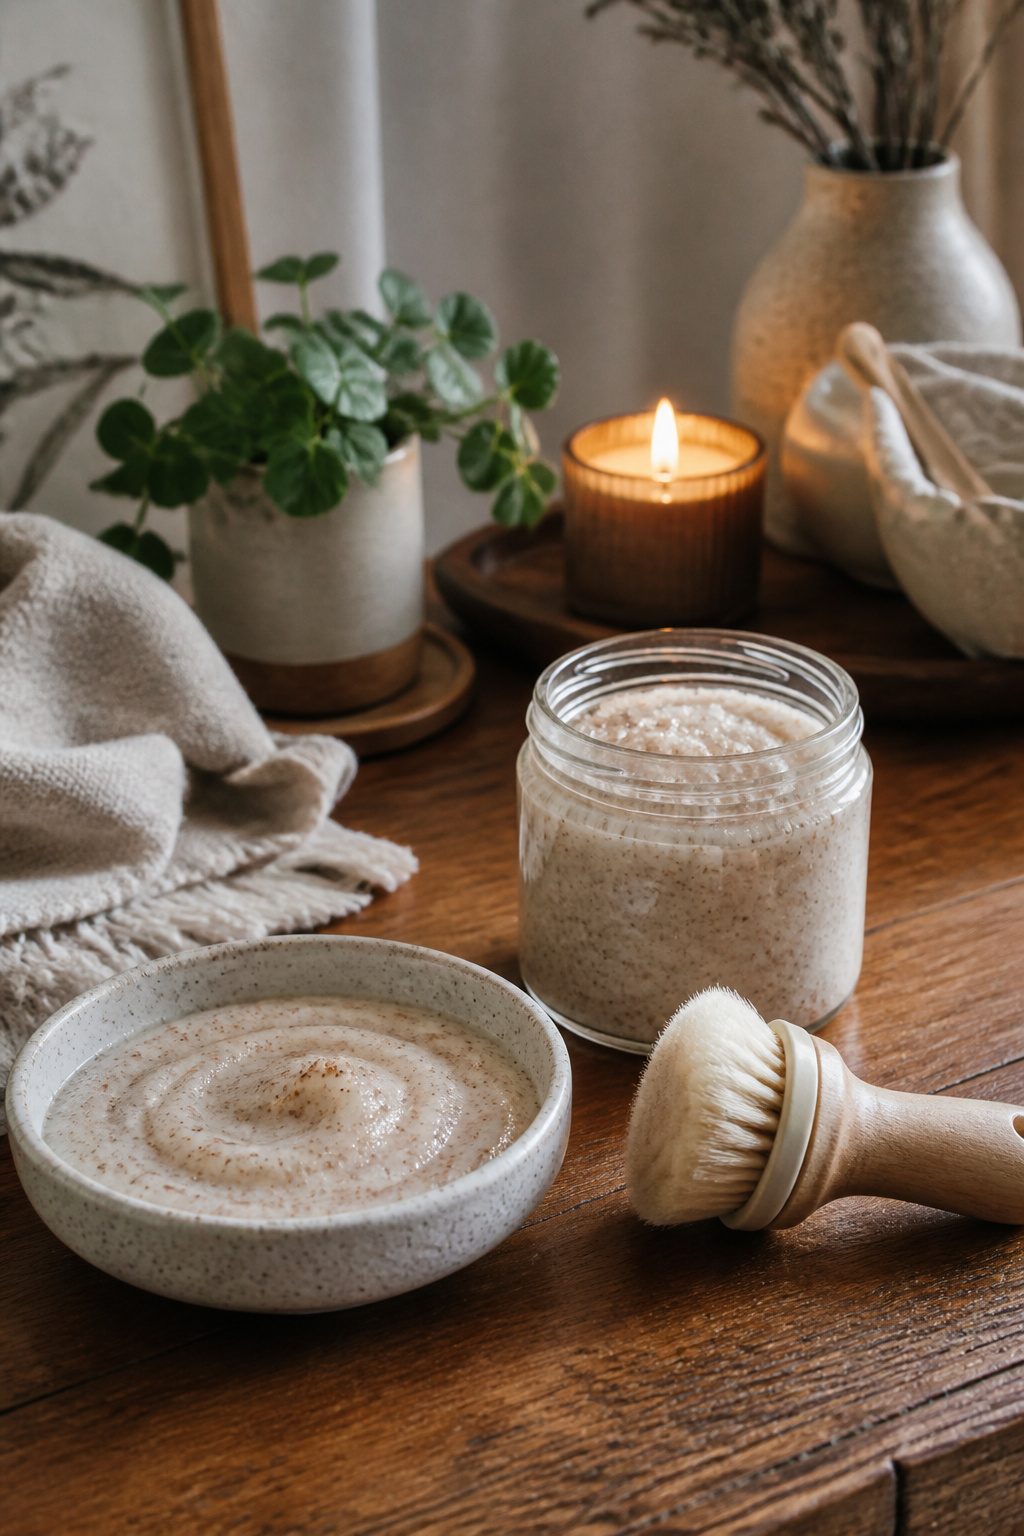
Exfoliation clears the dead cells sitting on top so anything you layer afterward actually gets in. Two paths get you there. Physical scrubs use granules or tools to lift debris mechanically, while chemical exfoliants (AHAs like glycolic or lactic acid, BHAs like salicylic acid) dissolve the bonds holding dull skin in place. Oily skin tolerates stronger scrubs and can handle both types more often; drier or sensitive skin does better with gentle acids or a scrub with smaller, softer granules. Active breakouts are the exception, physical scrubs can spread bacteria and irritate inflamed spots, so a light chemical peel with salicylic acid is the safer call there. Whichever route you take, massage gently, skip the eye area entirely, and rinse thoroughly before moving to the next step.
4. Mask
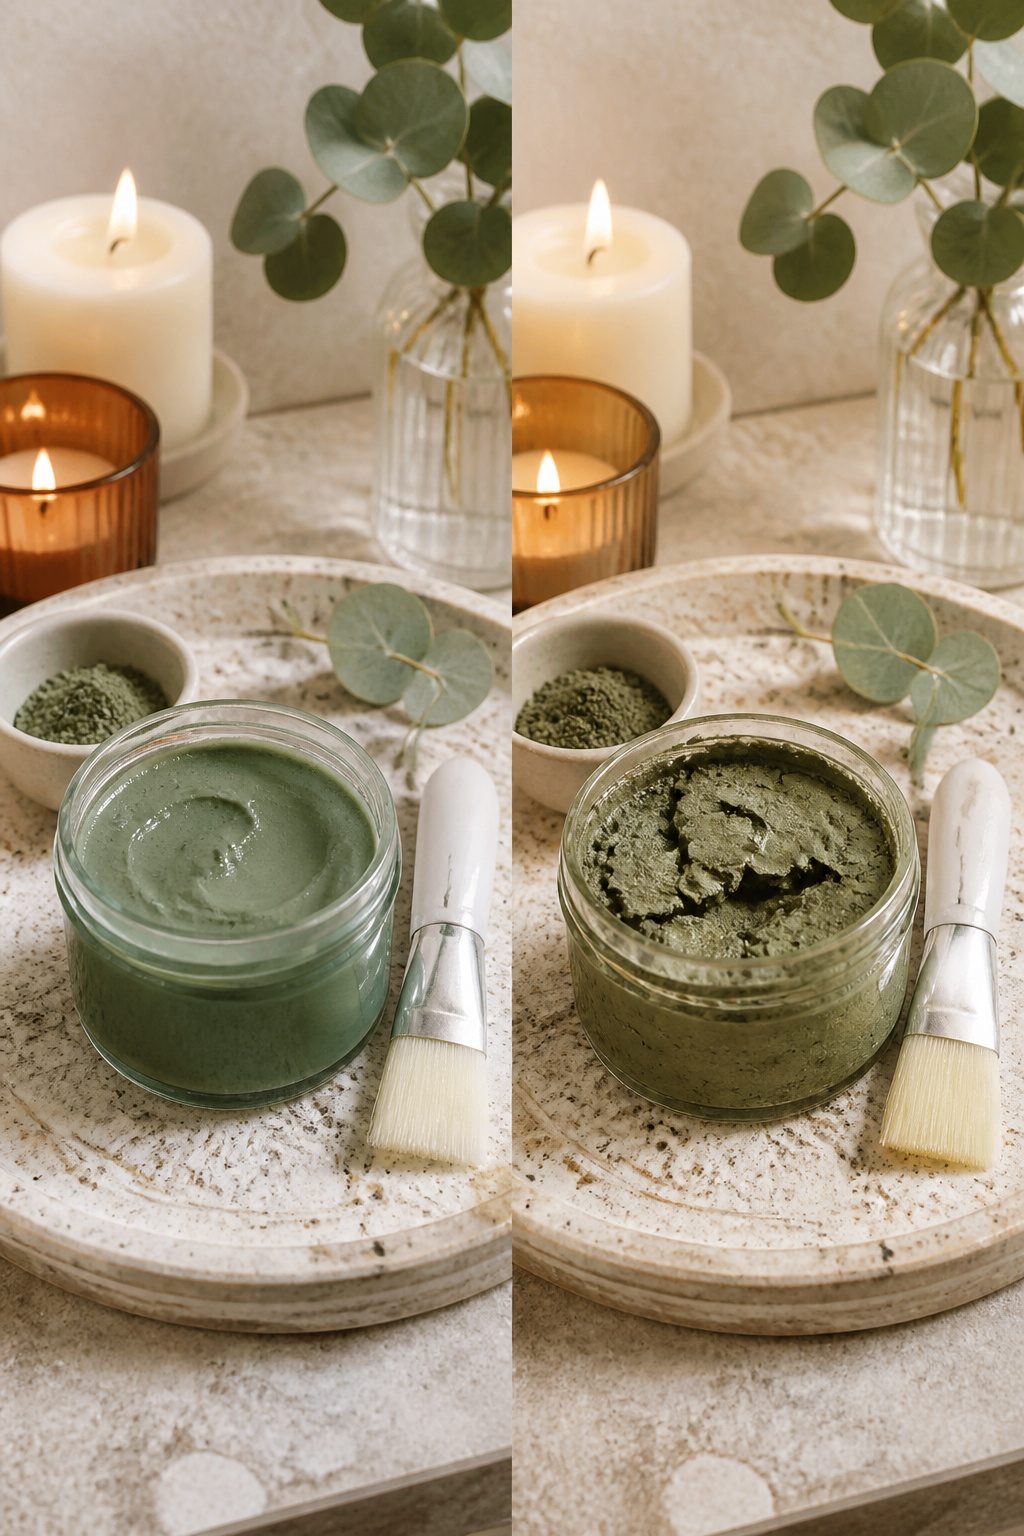
The mask step is where your skin, freshly cleansed and steamed, actually drinks in what you give it. Leave it on for 15 to 20 minutes, not the half-hour some people assume; after that window the active ingredients have done their work and the mask can start pulling moisture back out.
Three types cover most at-home needs. Hydrating masks, including sheet masks and cream formulas, target dryness and dullness by pushing moisture and brightening ingredients into the skin. Clay masks do the opposite job: they draw out oil and unclog pores, which makes them the choice for oily or acne-prone skin. Some acne-focused masks add actives like benzoyl peroxide or salicylic acid for extra clearing power.
Your skin’s needs shift day to day with weather, stress, or hormones, so the mask that worked last week might not be the right one tonight. When time is up, remove clay formulas with a warm, damp washcloth and no cleanser; sheet masks peel off and any remaining serum can be pressed in. A final splash of cool water closes the pores before you move to moisturizer.
5. Massage
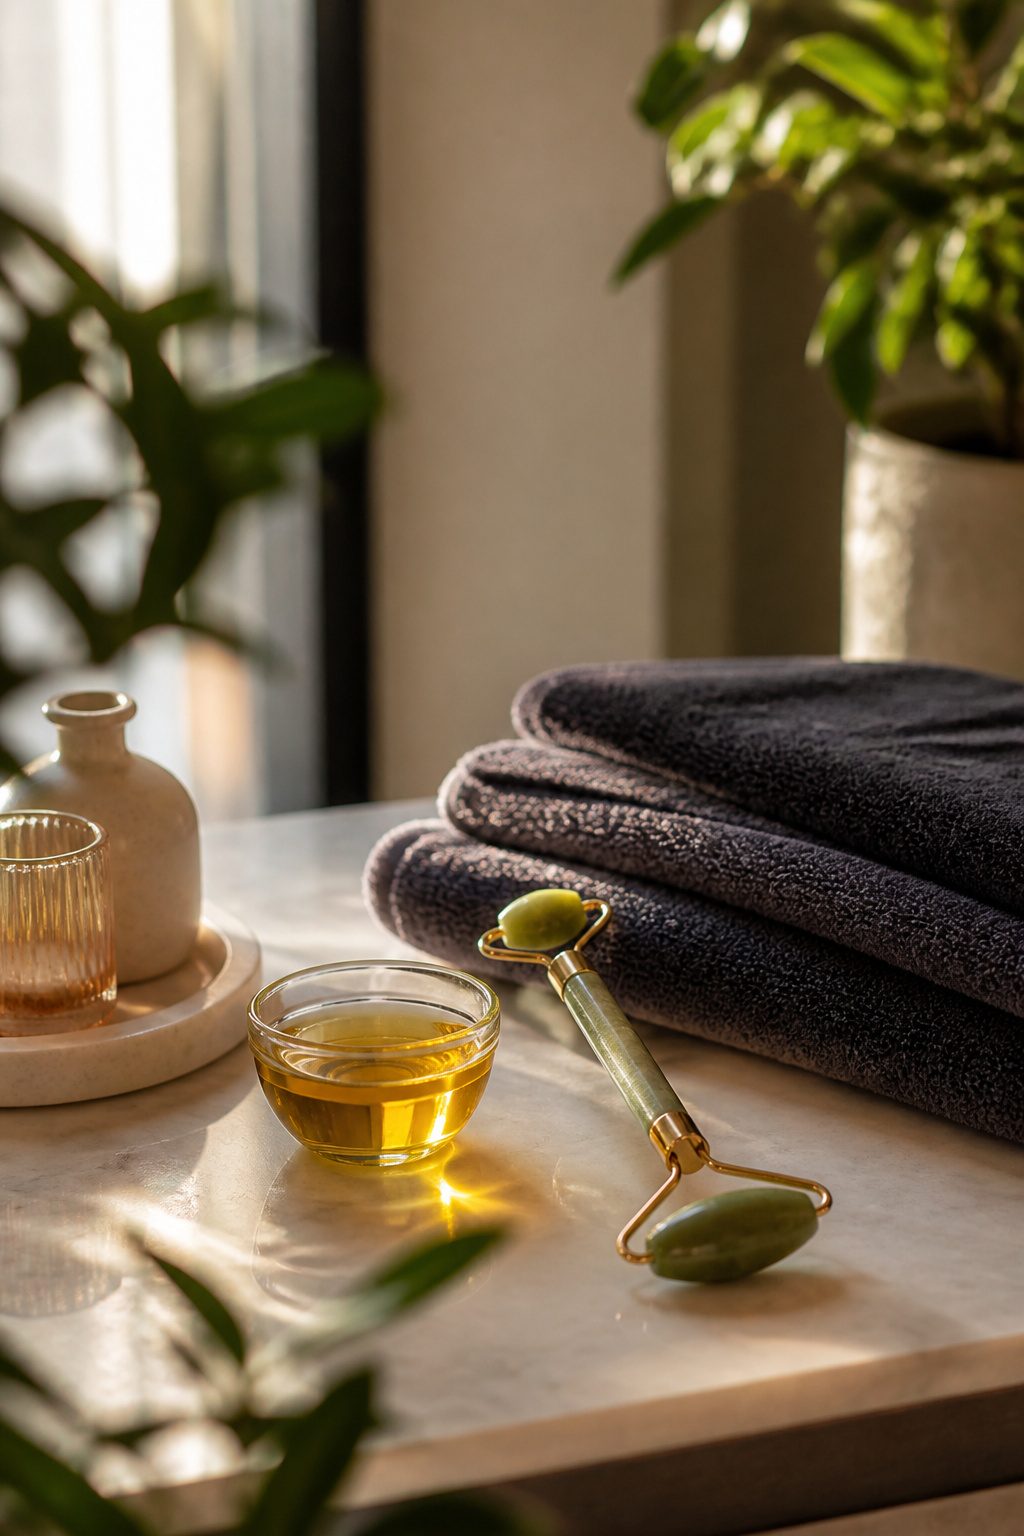
A facial massage works best when you have enough slip to glide without dragging skin. I reach for a facial oil or a thicker moisturizer, especially in winter when skin runs drier. The oil gives you that extra moisture and the smooth surface your fingers need to move cleanly.
Start at the center of your face and work outward and upward. Light pressure with the pads of your fingers, sweeping from the sides of your nose toward your ears, following the natural line of your cheeks. Hit the orbital bone, under the cheekbones, the jaw, and behind the earlobes. For the jawline, move outward and then down the neck, sweeping back up. Short, gentle, circular motions are the safest bet if you are unsure.
If you own a jade roller or a gua sha stone, this is the step to pull it out. They are optional, not essential. Your hands work fine without them. The tools can help with product penetration and give a more indulgent feel, but they are not doing work your fingers cannot replicate. One practical tip: if you are working around the eyes, load up on product there first. The tissue is thinner and you do not want to tug it.
Dab off any excess oil when you are done, or let your skin soak it up if it drinks it in. If your skin is oilier and you are wary of adding oil on top of moisturizer, jojoba or sesame oil tend to balance sebum production better than heavier options like coconut or avocado.
6. Moisturize
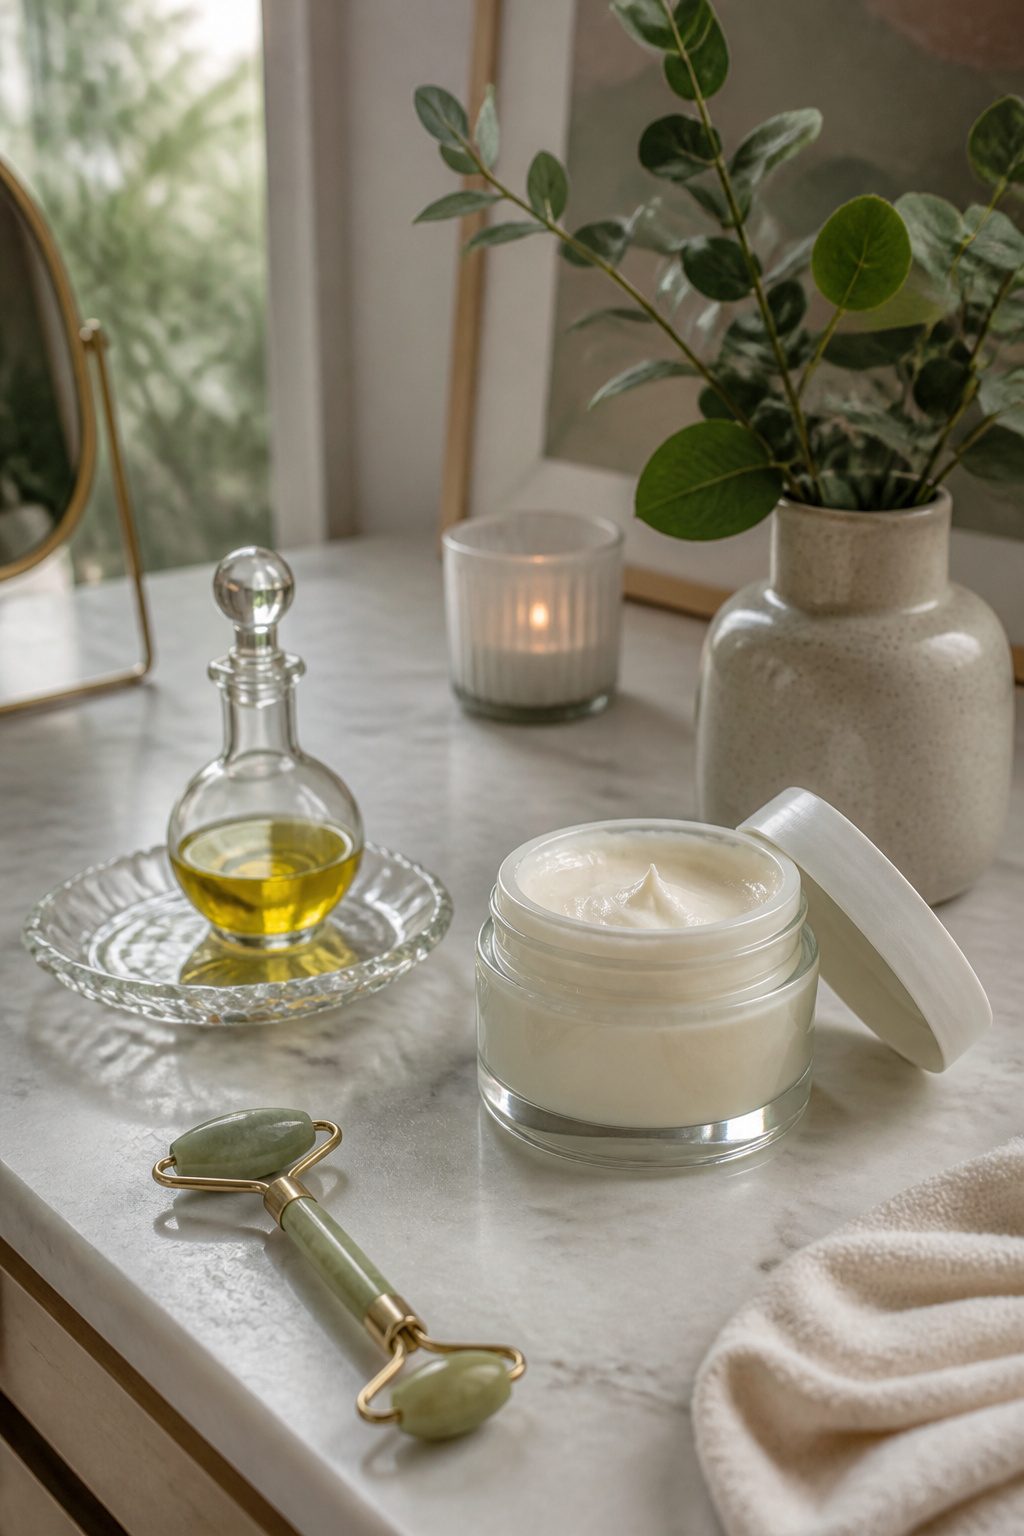
The right moisturizer after a facial is whichever one matches your skin’s condition that day, not your usual default. A lightweight lotion works when your skin is oily or the weather is humid; a heavier cream seals better when your face feels tight or the air is dry. What convinced me, reading through the steps dermatologists lay out, is that timing matters more than brand. Your skin absorbs best in the first few minutes after rinsing off the mask, when pores are still open and the barrier is receptive. Wait ten minutes and you have lost that window.
I press the cream in with fingertips rather than rubbing, working upward from the jaw and finishing with whatever is left on my hands pressed across my neck. Some sources suggest a full two-minute massage; I have found that even thirty seconds of deliberate pressure does more than a quick smear. If you want the luxury version, Caudalíe Premier Cru The Cream sits at the high end, though La Roche-Posay and SkinCeuticals cover the serum step before it for less. The sealing step is simple: get it on soon, get it on gently, and let it do the holding.
Setting the Mood
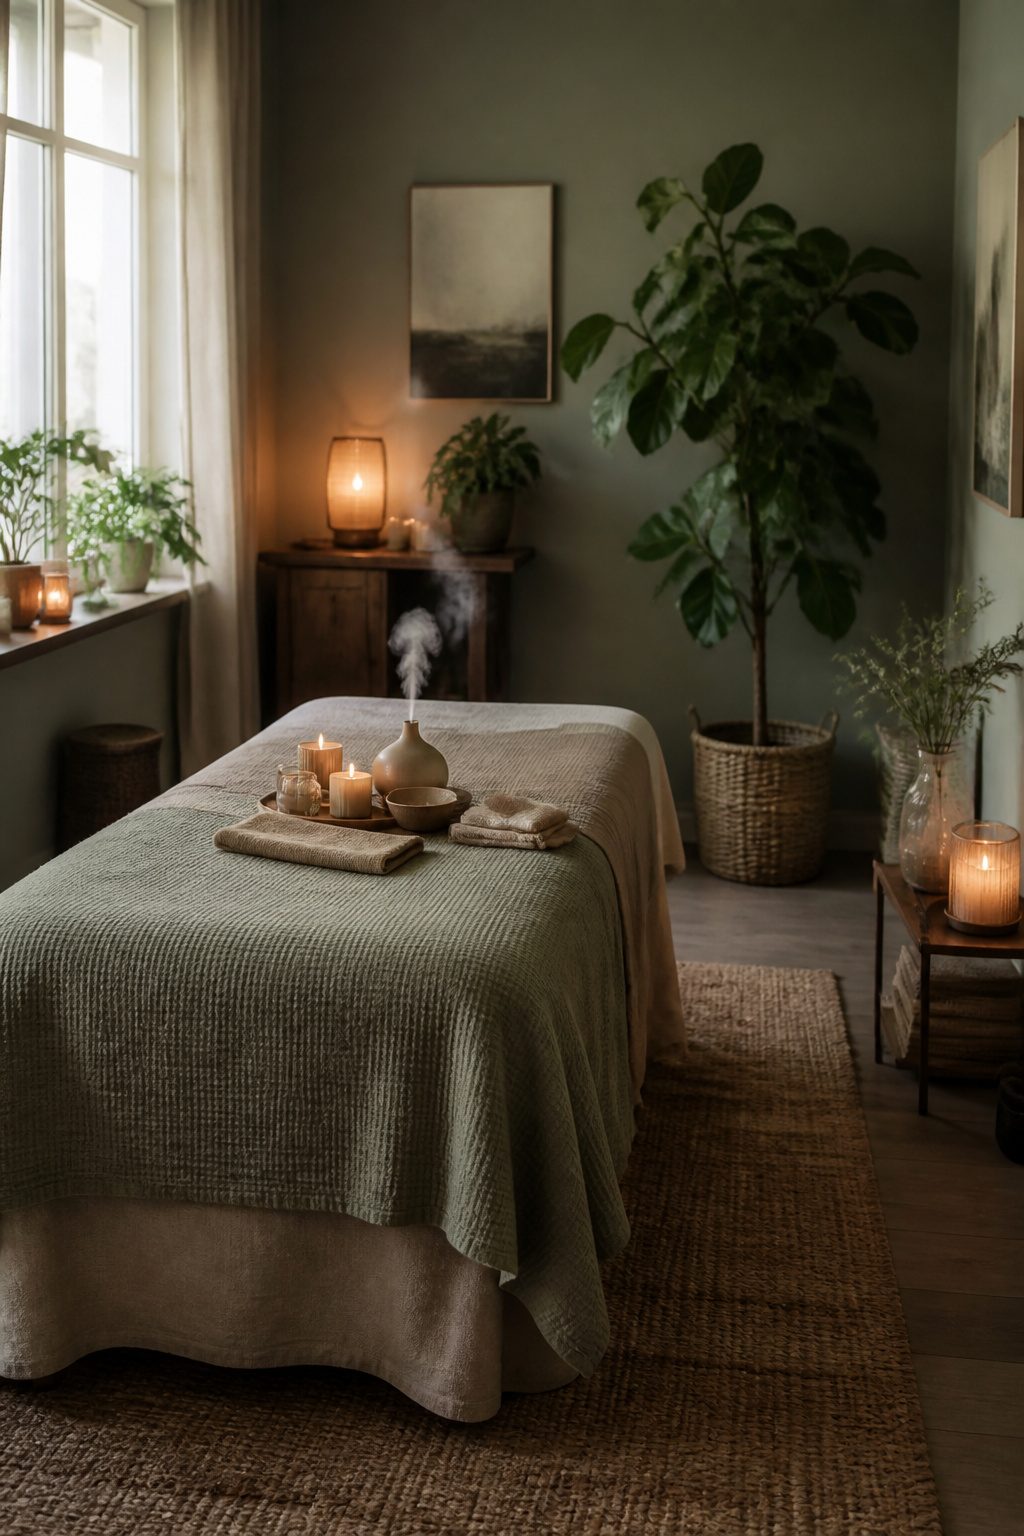
The first time I tried a home facial, I left every overhead light blazing and checked my phone between each step. The products were the same ones an esthetician used on me, but the results felt flat, and I blamed the formula. What I missed was that dim lighting and a phone set to Do Not Disturb matter as much as the serum you choose.
Music is non-negotiable for most pros, though the genre is personal. Tammy Fender, who built two spas in Palm Beach County, uses it specifically to calm the nervous system, while celebrity facialist Joanna Czech plays Pink Floyd and Dolly Parton on repeat. The through-line is intention, not aesthetic: pick a playlist you actually like, not one that photographs well for a story.
Scent works the same way. Ylang-ylang and lavender oil ease tension; lemon and rosemary sharpen focus. A diffuser gives you cleaner air than a candle, but either beats nothing. The real mistake is treating this as staging for social media rather than a tool that changes how your skin receives what comes next. When your shoulders drop, blood flow shifts, and the massage step actually works.
How Often

An at-home facial once a week keeps the work you put into the other six steps from going to waste. That is the cadence every aesthetician lands on: seven days between sessions, no more, no less. I treat mine like a Sunday reset, though Tuesday works just as well if that is when the bathroom stays free for twenty minutes.
Professional facials belong on the calendar every four to six weeks, with once a quarter as the floor if budget or distance gets in the way. The at-home version fills the gap; it does not replace the deep work a trained pair of hands can do.
Seasons should steer what you book. Summer calls for deep cleanses and lighter hydration, while winter is when you ask for the heavier treatments, peels, anything corrective that sun exposure would punish. If skin reacts after any session, home or professional, stretch the interval and strip the routine back to cleanser and moisturizer until the barrier settles. Redness that lingers past morning means you pushed too hard. Scale to every ten days, then work back to weekly once the skin accepts it.
What to Avoid
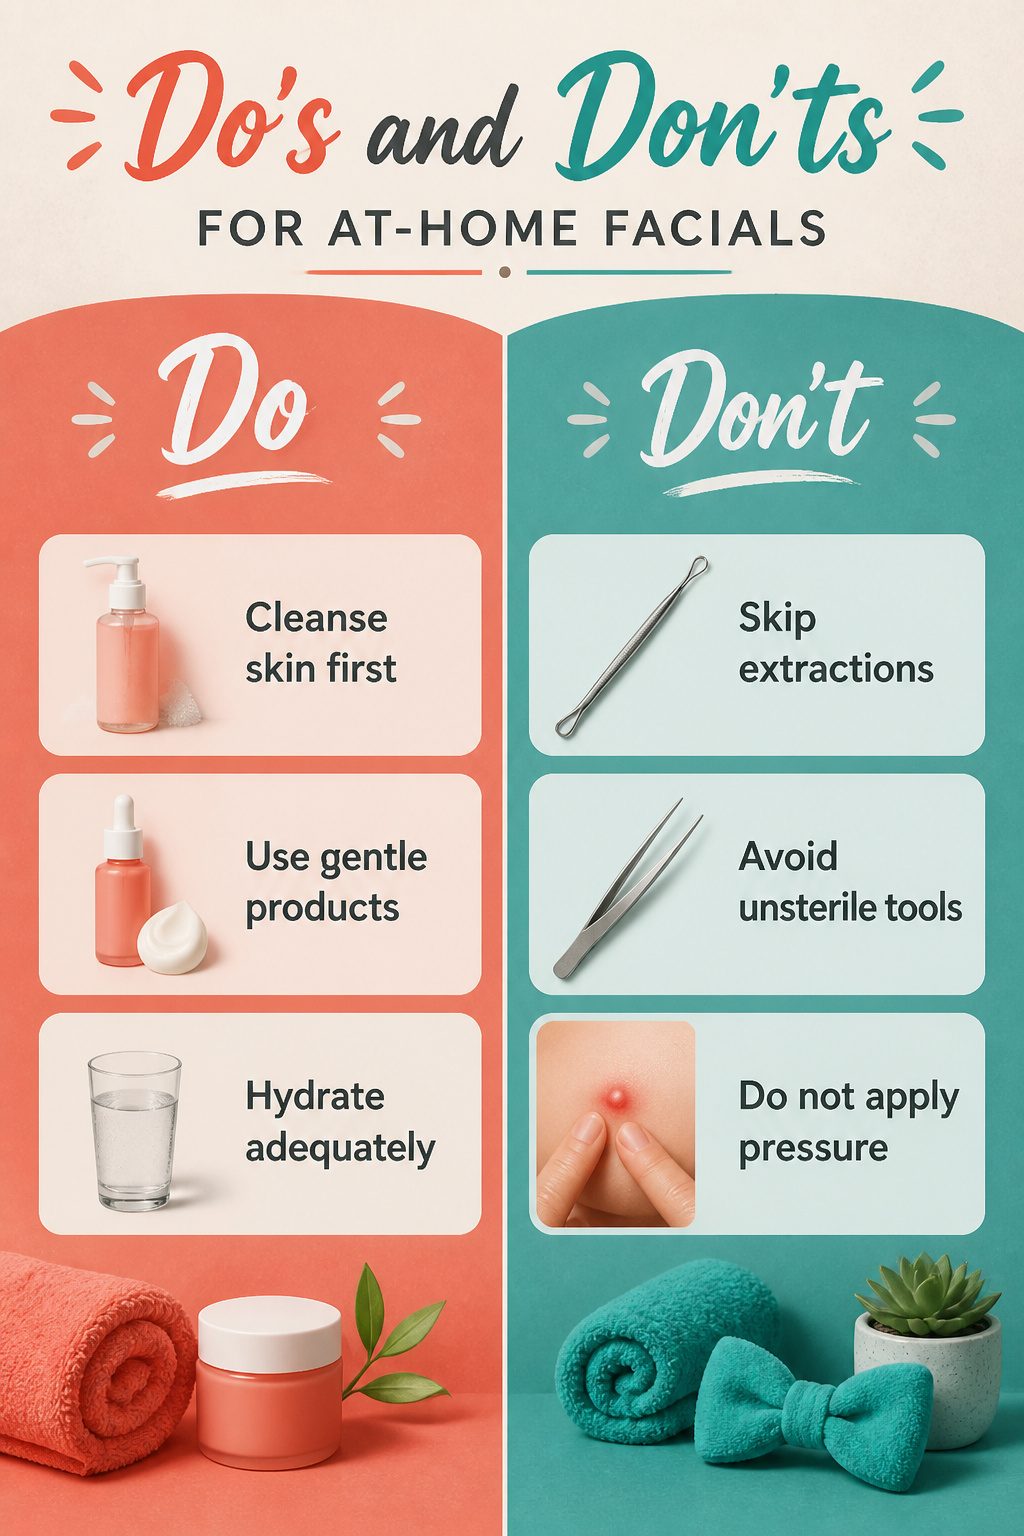
Extractions are the one step almost every professional says to skip at home, and after reading why, the warning sticks. An extraction is the manual clearing of a clogged pore, blackhead, or whitehead using pressure and sometimes a metal loop tool. The temptation makes immediate sense: steam has softened everything, the pore looks ready, and a quick squeeze seems like it would complete the facial.
What actually happens when you press in the wrong direction, use unsterile fingers, or force a whitehead that is not ready is a small wound that heals worse than the original blemish. Tearing the skin around the pore can leave a scar; pushing bacteria deeper can turn a surface-level spot into an inflamed infection. The three-squeeze rule exists for a reason, and even that is a concession for the stubborn, not an endorsement.
Cystic acne never qualifies for home treatment. These deep, painful bumps rarely come to a head, so pressure only spreads inflammation beneath the skin with no payoff. Alternate hot compresses and ice instead, and wait for a dermatologist.
Leave extractions to a licensed aesthetician who steams first, wraps fingers in tissue, and knows when to stop because the blackhead is not moving. The rest of your at-home facial can be excellent. This one step is where precision and sterility matter too much to risk.
Frequently Asked Questions
How often should I do an at-home facial?
Once a week is the cadence every aesthetician recommends. A weekly at-home facial keeps skin maintained between professional visits, which should happen every four to 6 weeks, or at least once a quarter if budget is tight. Summer calls for deep cleanses and lighter hydration, while winter is better for heavier corrective treatments.
Can I do extractions at home?
No, leave extractions to a licensed aesthetician. Pressing in the wrong direction, using unsterile fingers, or forcing a whitehead that is not ready creates a small wound that can scar or become infected. Cystic acne never qualifies for home treatment, alternate hot compresses and ice instead, and see a dermatologist.
What products should I use for an at-home facial?
Start with an oil-based cleanser for the first cleanse and a sulfate-free gel or light foam for the second. Follow with a chemical or physical exfoliant matched to your skin type, then a mask, either hydrating or clay-based depending on whether your skin needs moisture or oil control. Finish with a facial oil or thicker moisturizer for massage, then a moisturizer that fits your skin’s condition that day.