Looking good in a photograph is a skill, not an accident, and it costs nothing beyond a few minutes of practice in front of a mirror. Most people get the posing wrong because they start with the pose instead of the light.
The real condition is light that flatters rather than betrays. Natural light positioned just outside direct sun smooths skin and catches the eye, while overhead fixtures carve hollows beneath the eyes that no filter fully fixes. That five-minute experiment of moving through a room at different times of day teaches more than any posing guide, because once the light is right, the pose has something to work with.
1. Find the Light Before You Pose
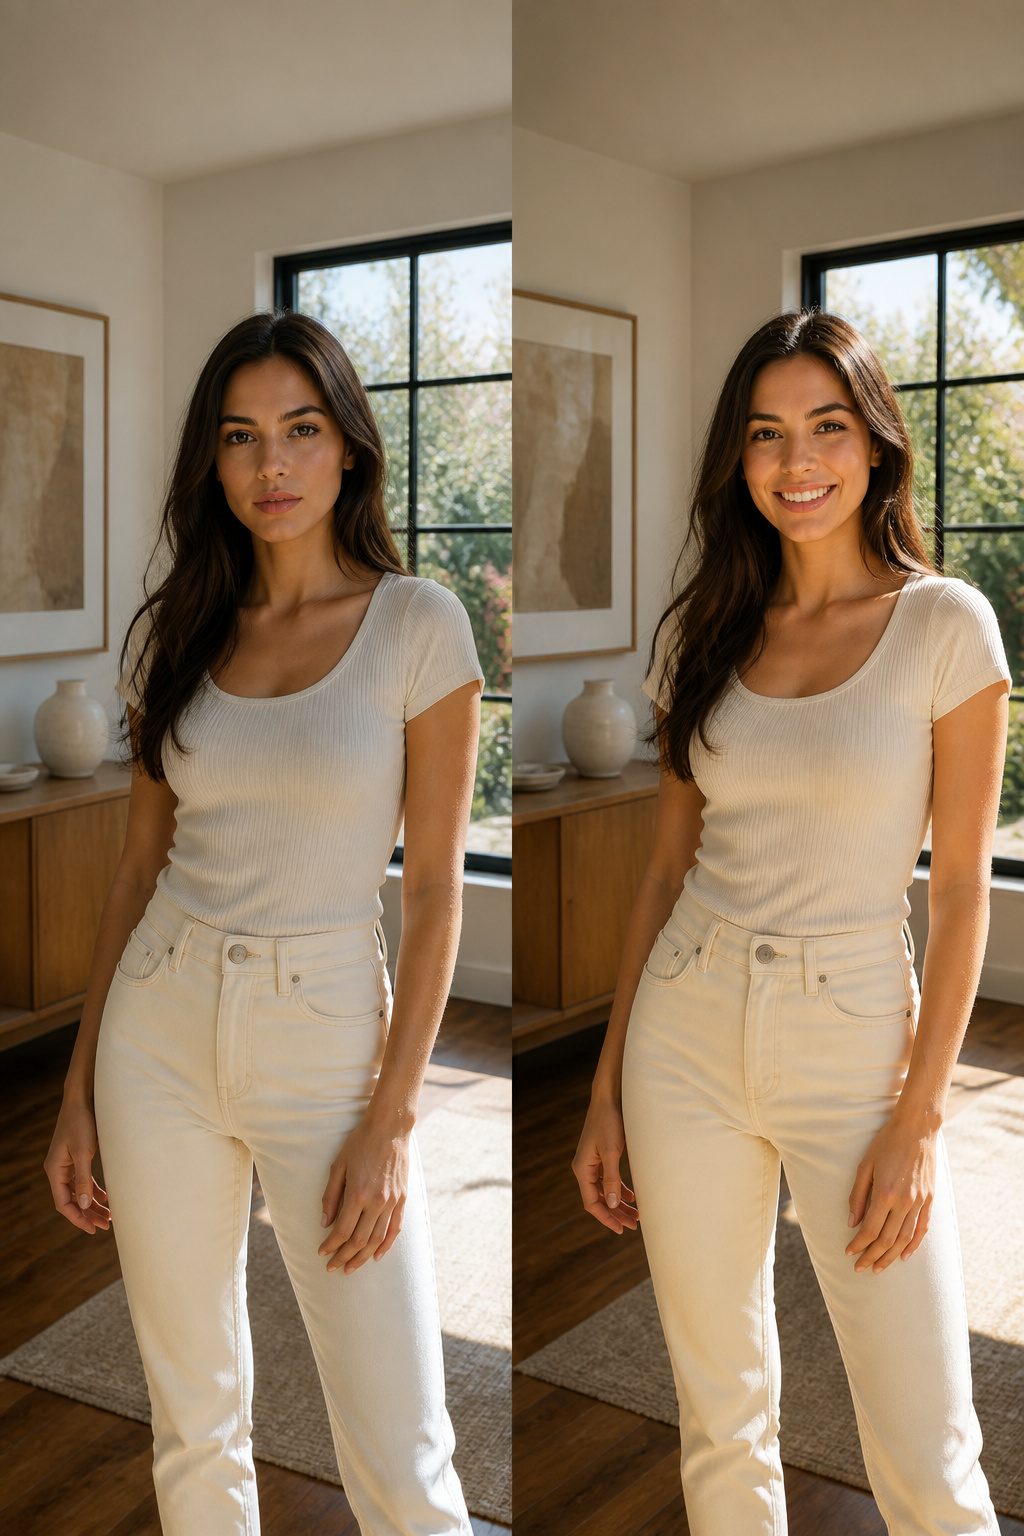
Light either flatters or betrays before a single pose is struck. Natural light, positioned in front of you but just outside direct sun, wraps the face in soft shadows that smooth skin and catch a glint in the eye. Direct midday sun does the opposite: it sharpens every pore and casts hard shadows under the brow. Overhead lighting is worse still, carving unflattering hollows beneath the eyes and chin that no filter fully fixes. Face the window, not the ceiling fixture. The difference shows up immediately in a test shot. Spend five minutes moving through a room at different times of day, watching how the same face changes under shifting light. That small experiment teaches more than any posing guide, because once the light is right, the pose has something to work with.
2. Angle Your Body Away from the Lens
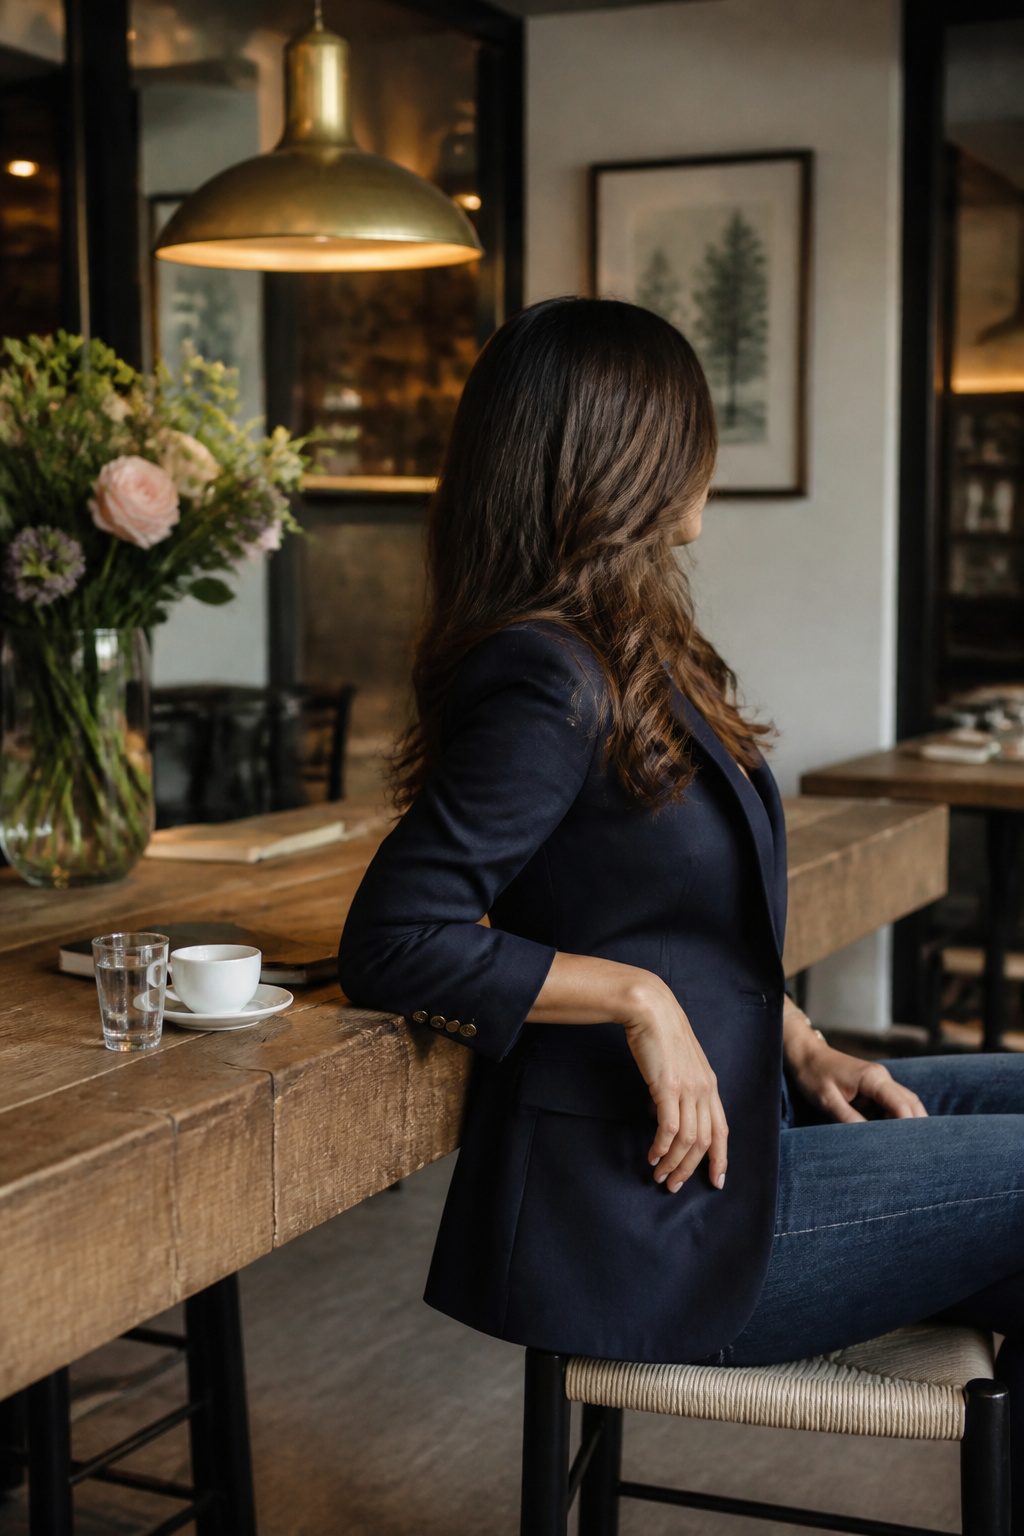
Facing the camera straight on is the fastest way to add visual weight nobody wants. Your torso reads as a solid block, hips spread to their full width, and any natural curves flatten against the frame. Angle your body about forty-five degrees away from the lens, then turn your chest and face back toward the camera. That small diagonal creates a longer, more flattering line through your middle and keeps you from looking locked in place.
The forty-five-degree mark matters. Turn too far, around ninety degrees, and you start to disappear into profile. The sweet spot is roughly halfway, where your shape stays dimensional without going flat.
Once your feet are set, shift most of your weight onto your back foot. This softens your front leg, pushes your front hip back, and lets an S-curve form naturally through your body. Even weight on both feet reads stiff. The back-foot shift adds ease and movement without looking like you are leaning away from the camera, which is the mistake that turns relaxed into awkward.
3. Chin Forward and Slightly Down
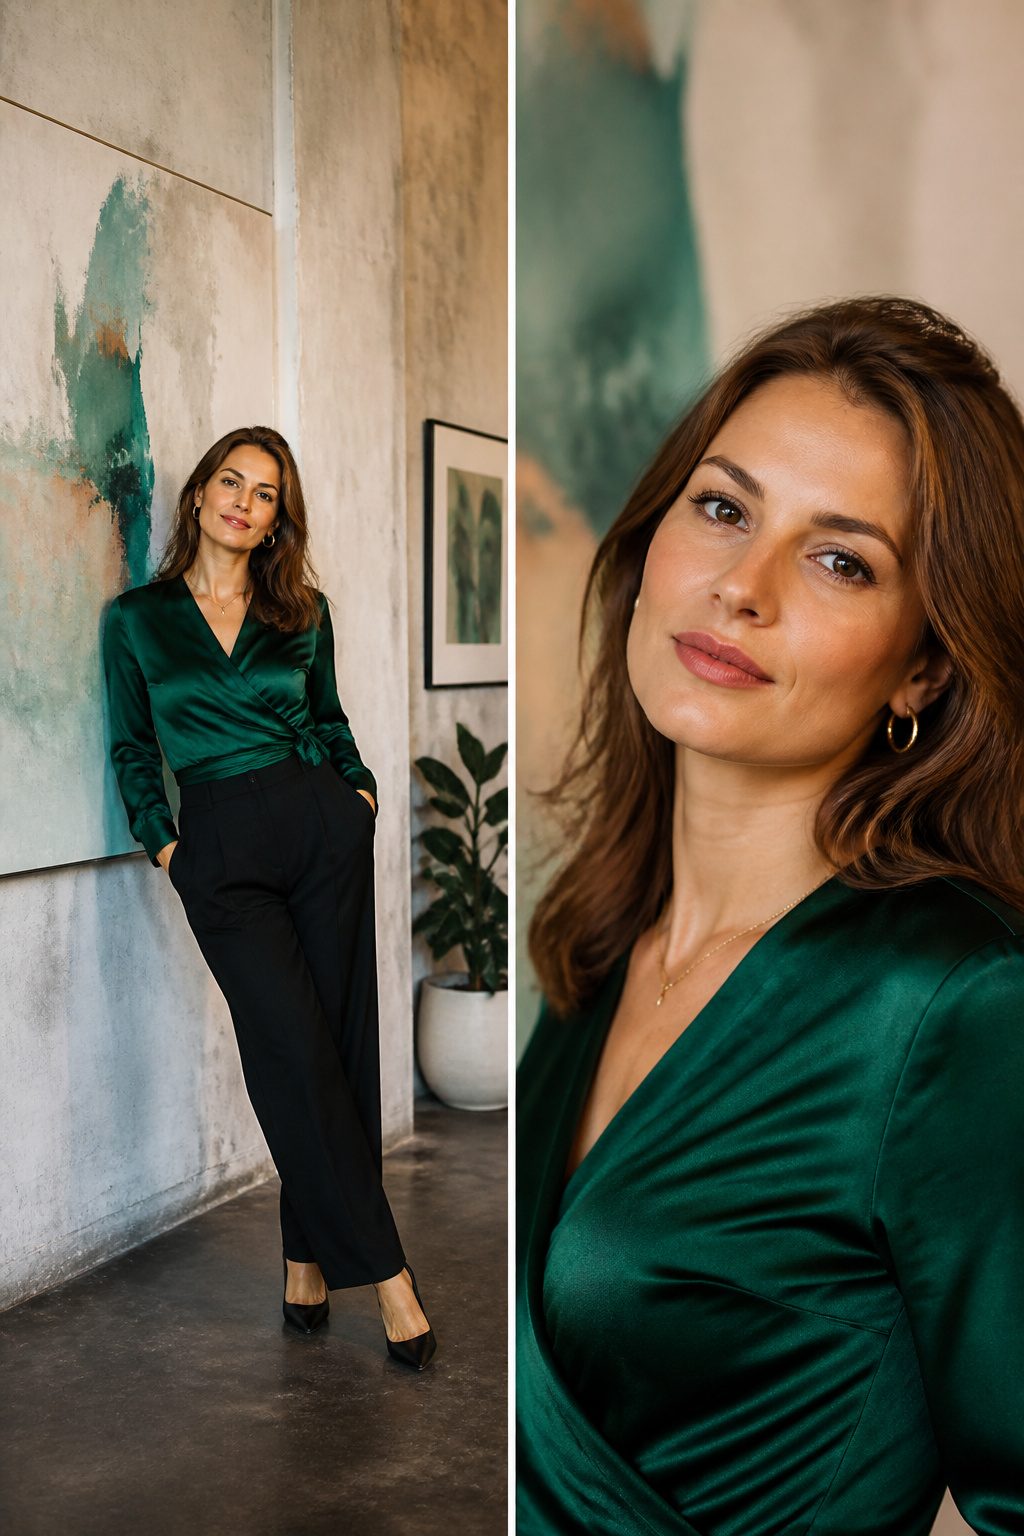
The single move that changed how my jawline photographs was pushing my head forward and angling the chin slightly down, as if I were looking at something just below eye level. This creates separation between the head and the body, which keeps the face from sinking back into the neck and defining whatever jawline is there. It feels unnatural at first, almost like a turtle extending from its shell, but the result in the image is worth the awkwardness.
For anyone shooting the photo, the camera or phone should sit high enough that the subject has to raise their chin slightly to meet its gaze. That small upward adjustment elongates the neck and gives the chin more shape. The opposite, shooting from below, is what turns a normal face into an accidental double-chin situation no one asked for.
4. Create Space and Movement
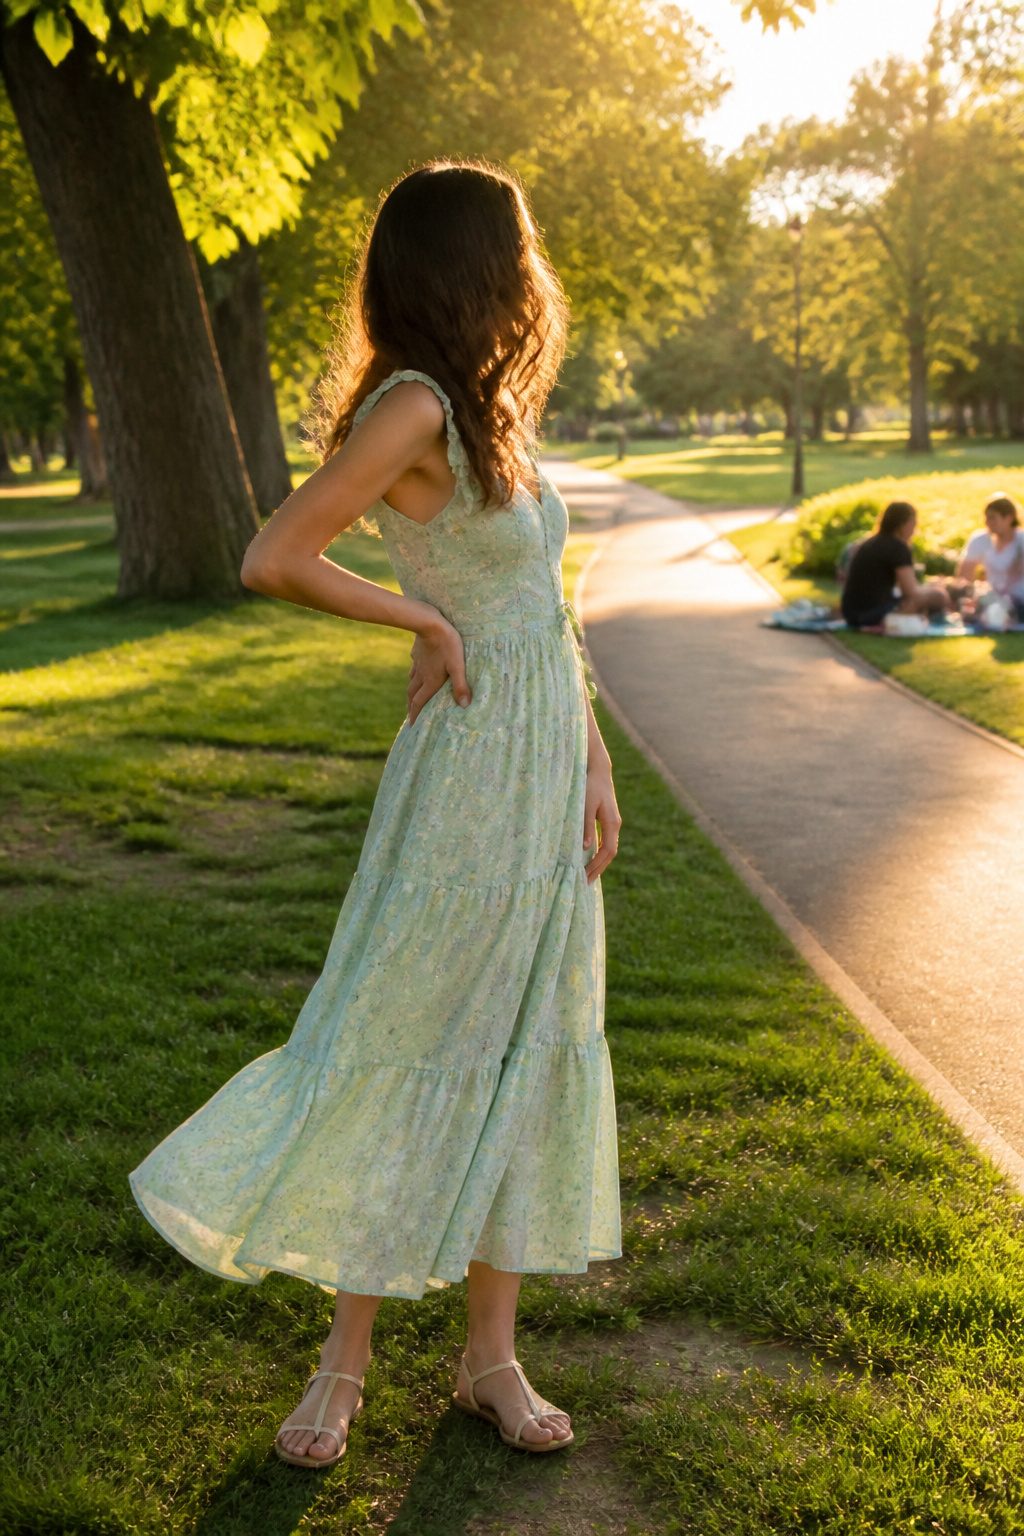
Pressing your arms flat against your sides is the first thing most people do when a camera comes out, and it is the fastest way to look wider than you are. Keep your arms slightly lifted, about an inch or two away from your torso, and the squashed effect disappears. A hand resting on your hip works, or a thumb tucked into a pocket, or an arm draped around someone next to you. These small gaps create shape and keep the pose from reading as stiff.
Hands are where tension shows first. A light touch is the goal, whether they are on your hips, in your pockets, or holding a prop. Pressing hard against your body undoes the whole effect and starts to look posed rather than natural. If you are stuck, movement fixes it. Walking, shifting your weight, or playing with a jacket button gives your hands something real to do, and the photo stops looking like you were waiting to be photographed.
5. Stand Tall with the S-Curve
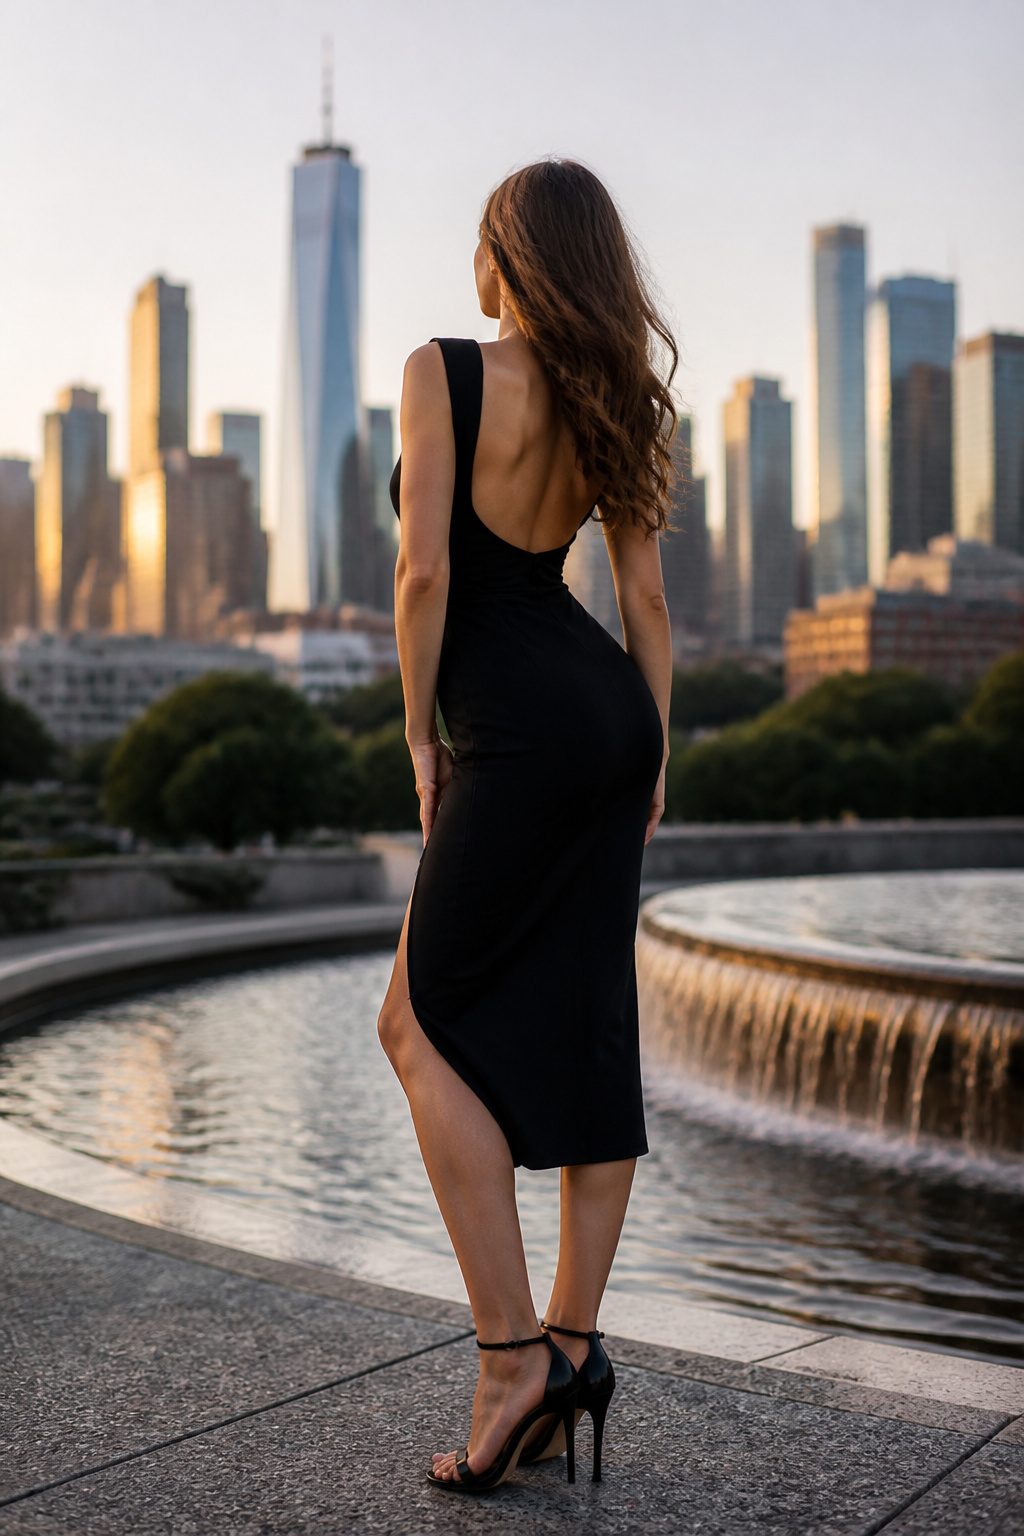
Straight shoulders and a lifted spine add height you do not actually have, which is why the first thing I check in any photo setup is whether I have slowly sunk into my hips. Locked knees are the quickest way to undo that length; the joint jams, the pelvis tilts back, and the whole frame looks pinned in place. Shifting weight onto the back leg softens the stance and starts the S-curve naturally, with the hip pushing out gently and the shoulders angling the opposite direction. The curve runs through the body like a drawn letter, adding dimension that a straight-on, symmetrical pose rarely achieves. One warning that took me a while to absorb: leaning backward, away from the camera, reads as discomfort even when it feels like a natural counterbalance. Keep the torso engaged but not rigid. The other silent killer is holding your breath. The chest freezes, the shoulders creep up, and the face follows into tension. Exhale before the shutter clicks, let the shoulders drop, and the pose holds shape without looking held at all.
6. Smile with Your Eyes
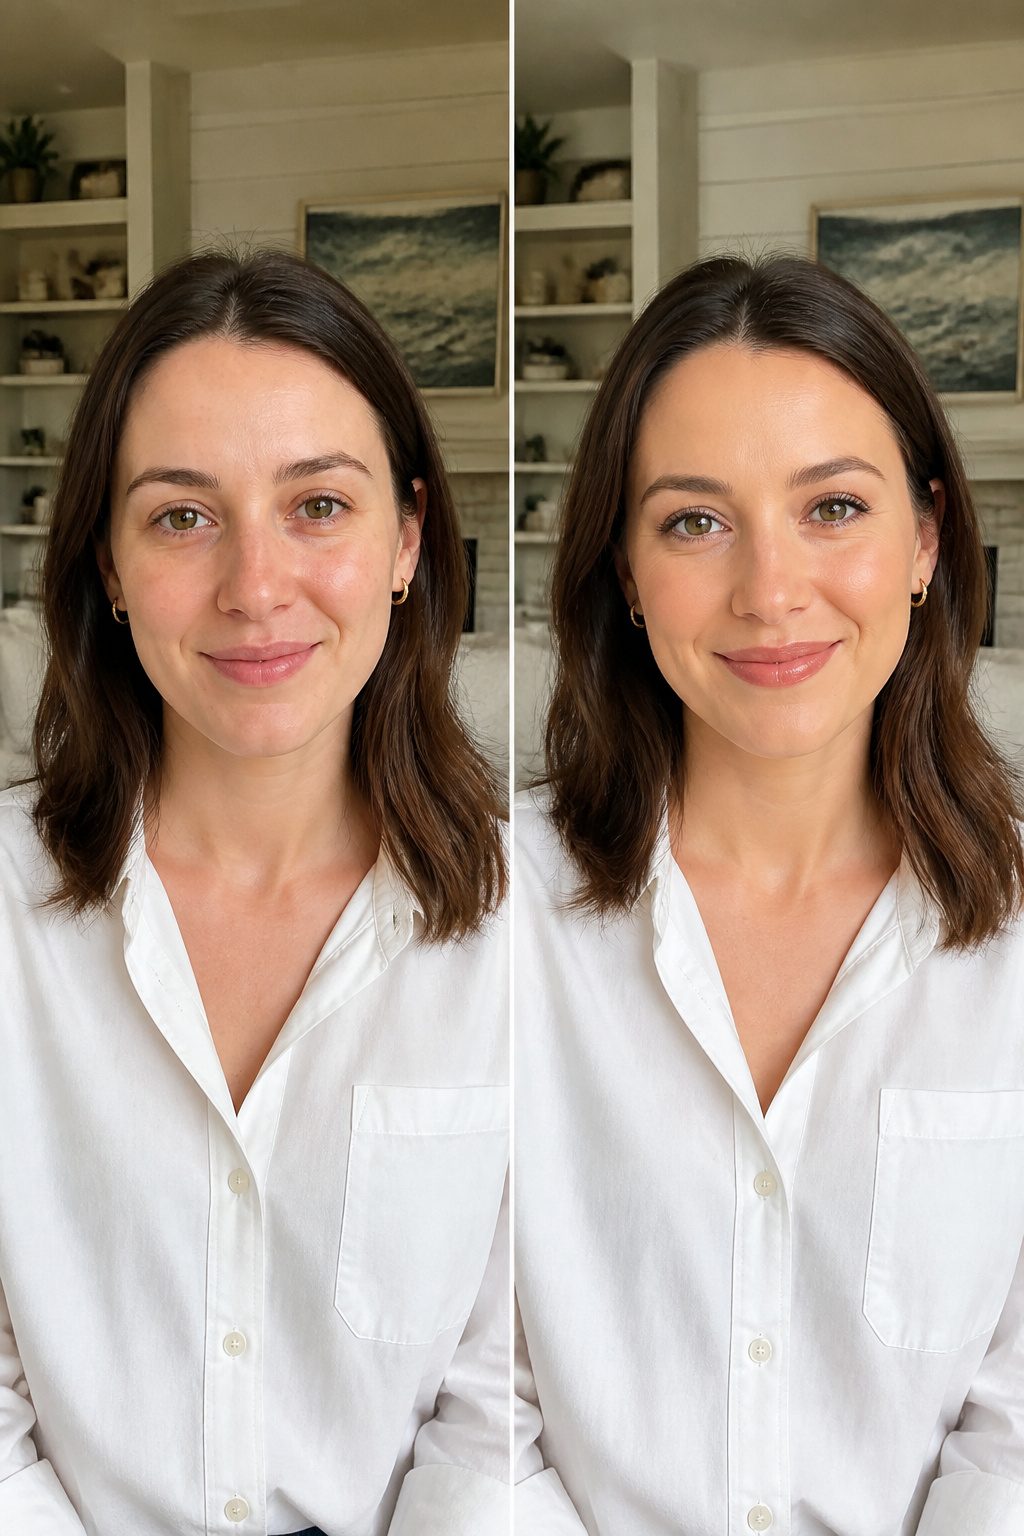
A camera catches the difference between a mouth smile and an eye smile every single time. Tyra Banks coined "smizing" for a reason: the eyes crinkle, the warmth lands, and the whole face changes. The trick is tilting your chin down slightly while lifting just the corners of your mouth, letting the smile live in your eyes first.
I spent an embarrassing number of mornings in front of my bathroom mirror figuring this out. The big forced grin always looked like I was bracing for something. A slight, relaxed smile with engaged eyes reads genuine on screen and in print. Thinking of something actually funny helps, too; the expression follows the thought rather than the instruction.
Looking directly into the lens matters more than most people expect. That eye contact creates connection with whoever sees the photo later. When my own eyes start feeling flat during a long shoot, I close them for a beat, look away, then come back to the camera. The refresh shows. A little chapstick on the front teeth keeps the smile from drying out and tightening up, which sounds odd until you try it and notice the difference.
7. Wear What Photographs Well
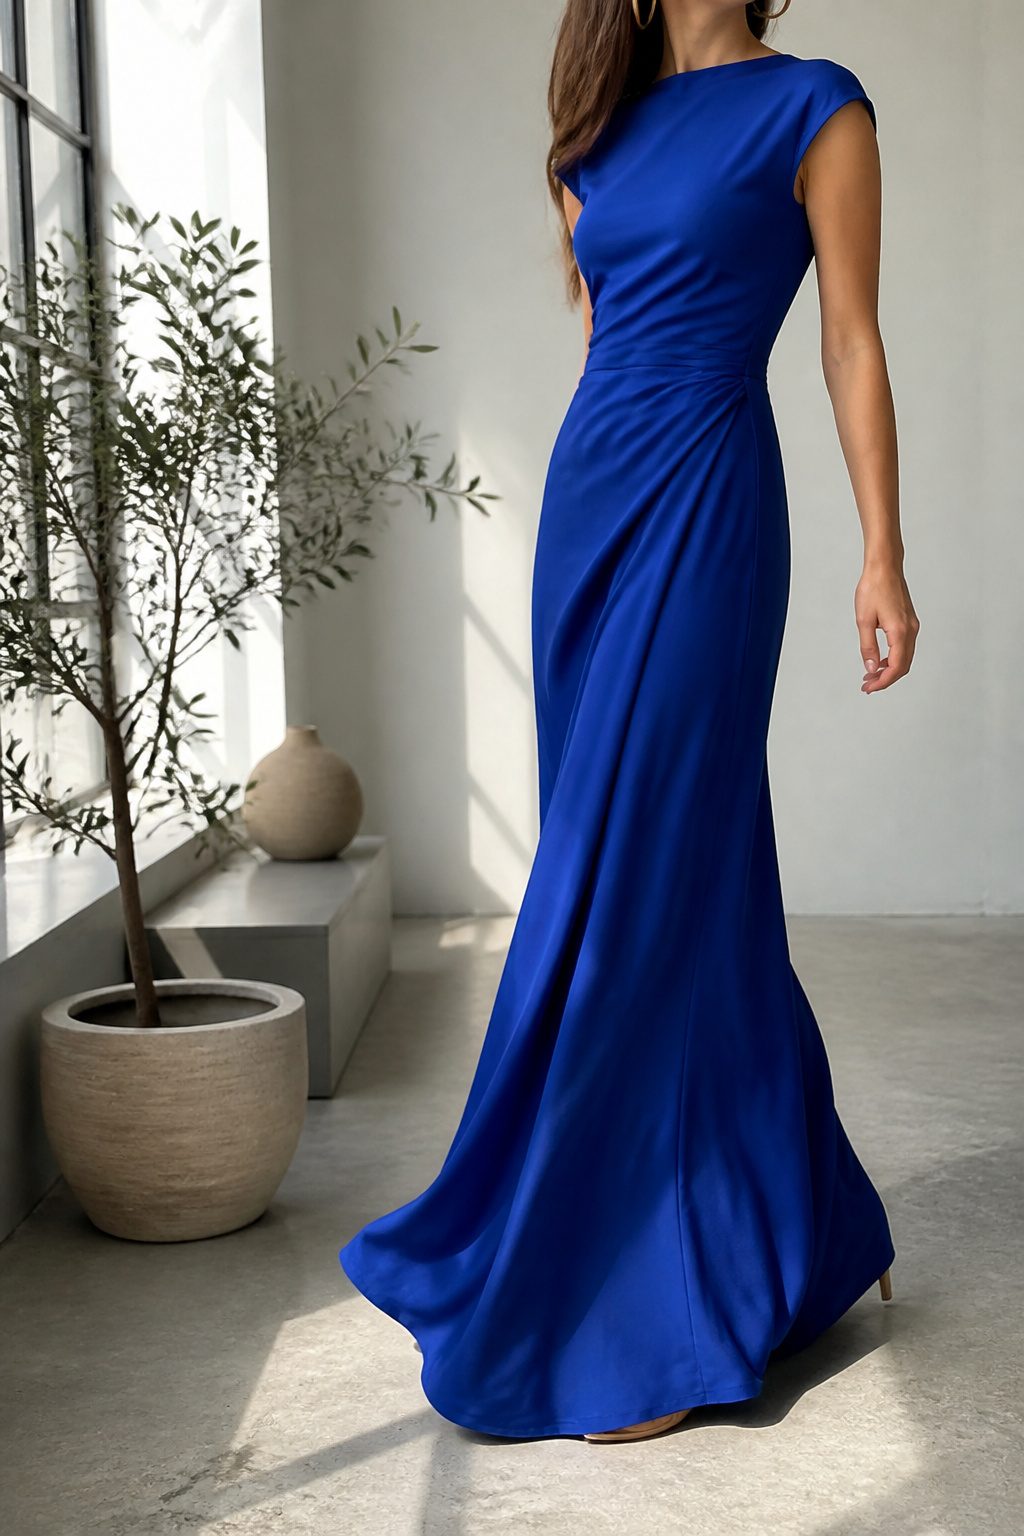
Solid colors almost always beat busy patterns in photographs. Stripes, florals, and loud prints pull the eye away from your face, which is usually the point of the picture. A clean block of color, especially one that flatters your skin tone, keeps the focus where it belongs.
Bright whites and neon shades are the exceptions that prove the rule. Those tones reflect light aggressively and can wash you out or create harsh contrast against your features. I learned this the hard way at a summer wedding where my pale yellow dress blew out completely in every outdoor shot, turning me into a floating head.
Bold, saturated colors that stop short of neon tend to read best on camera: emerald, cobalt, a true red. They hold their own against varied lighting without fighting your complexion.
Fit matters as much as color. Overly tight clothing pinches and creases in ways you do not notice in the mirror but the camera catches cruelly, creating unflattering lines across the midsection or underarms. A half-inch of ease makes a visible difference.
Accessories should stay simple for the same reason patterns should stay quiet. One deliberate piece, a thin gold chain or small hoop, reads as intentional. Three competing statement pieces read as clutter the lens cannot sort out.
8. Apply Camera-Ready Makeup
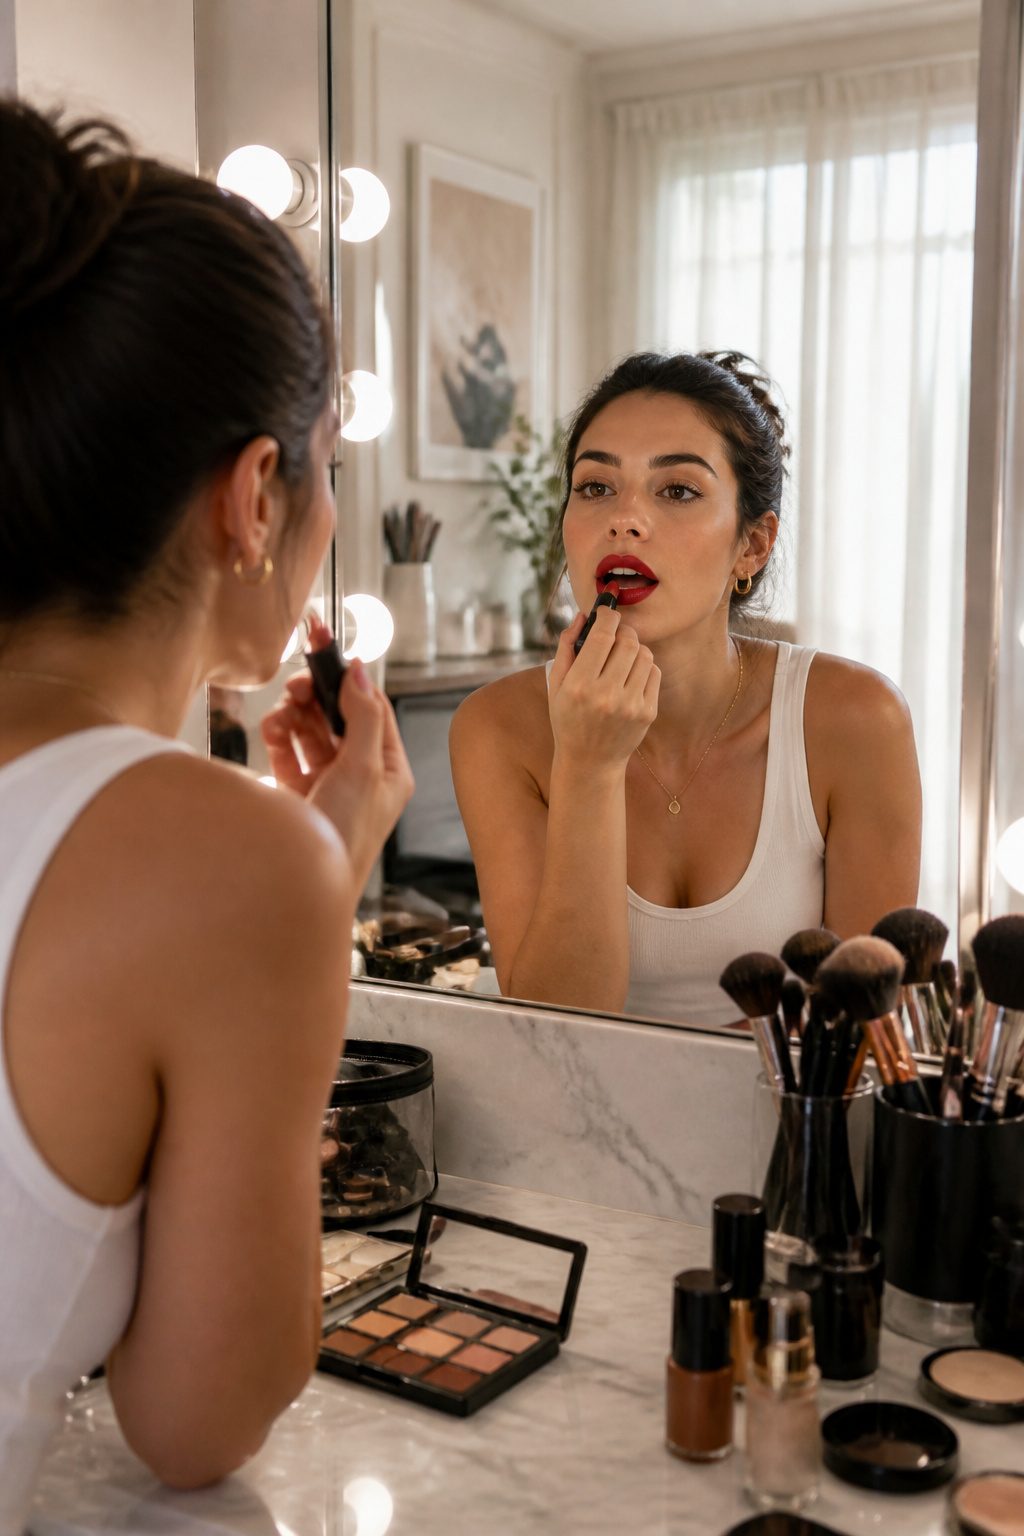
Camera-ready makeup needs to read slightly heavier than what looks right in the mirror. The everyday face that seems balanced at breakfast tends to wash out under a lens, so building up a touch more coverage than usual pays off in the final frame.
Matte foundation photographs more evenly than dewy formulas, which catch light and turn into hot spots across the forehead and nose. A full-coverage matte base keeps skin looking consistent even under bright or direct lighting. If oil still breaks through, blotting sheets tucked in a pocket can knock down shine right before the shutter clicks without disturbing the rest of the face.
A brighter lip color than usual carries better on camera too. The eyes and mouth draw the most attention in a still image, so defining them matters. Black mascara and liner give the eyes structure without competing for focus.
Hair and grooming deserve the same forethought. Roots that barely register at home become obvious under a camera’s scrutiny, so scheduling color touch-ups ahead of a shoot saves regret later. A new cut should happen two weeks out, not two days, so the style settles and feels like yours rather than like a salon departure.
9. Practice Before the Shot
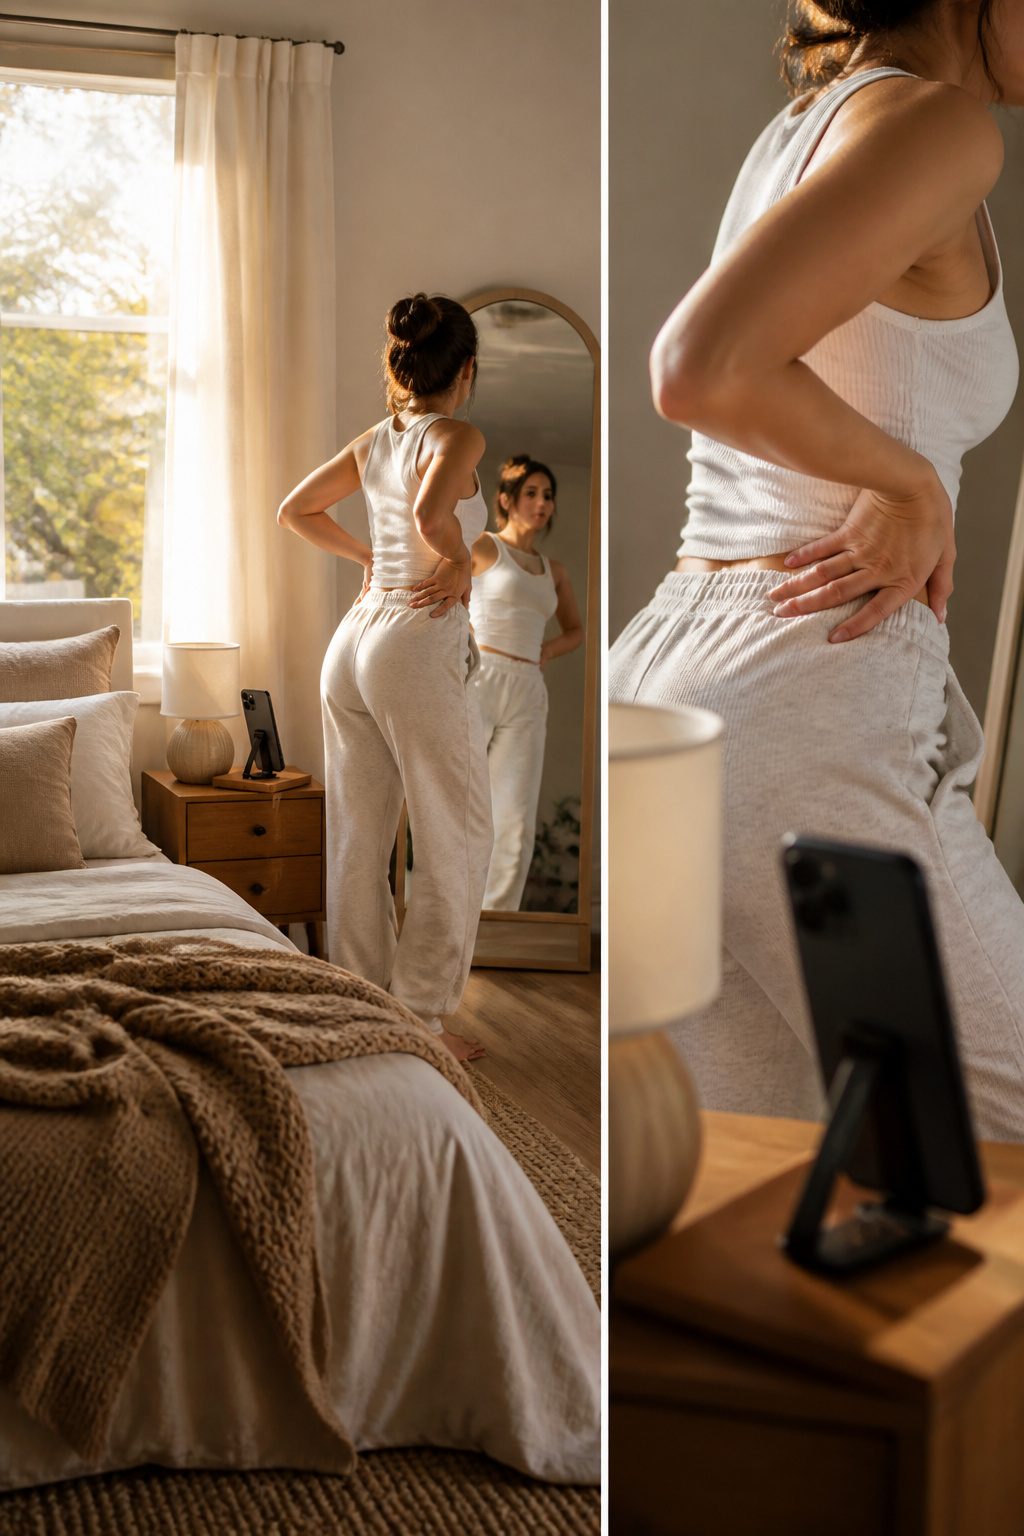
Standing in front of a mirror with my phone on a ten-second timer taught me more about my own face than years of casual selfies ever had. The timer forces you to move into position naturally instead of holding a frozen half-smile while your arm shakes. That small delay between pressing the button and the shutter click is where the real practice happens.
Most people have a side that photographs cleaner, and the mirror is the place to find it. I spent one evening turning my head in small increments, noting how light hit my cheekbones differently from the left than the right. A fifteen-degree shift was the difference between looking relaxed and looking like I was bracing for a driver’s license photo. The best angle is rarely straight-on; it is usually three-quarters, chin extended slightly, with the weight on the back foot.
The real trap is rehearsing too much. I tried running through every tip at once once, shoulders back, chin down, hip popped, smile natural, and ended up looking like I was mid-instruction manual. The mirror work should be limited to two or three adjustments so the body remembers the feeling, not the checklist. When the actual camera comes out, breathing matters more than any pose.
10. Relax and Be Yourself
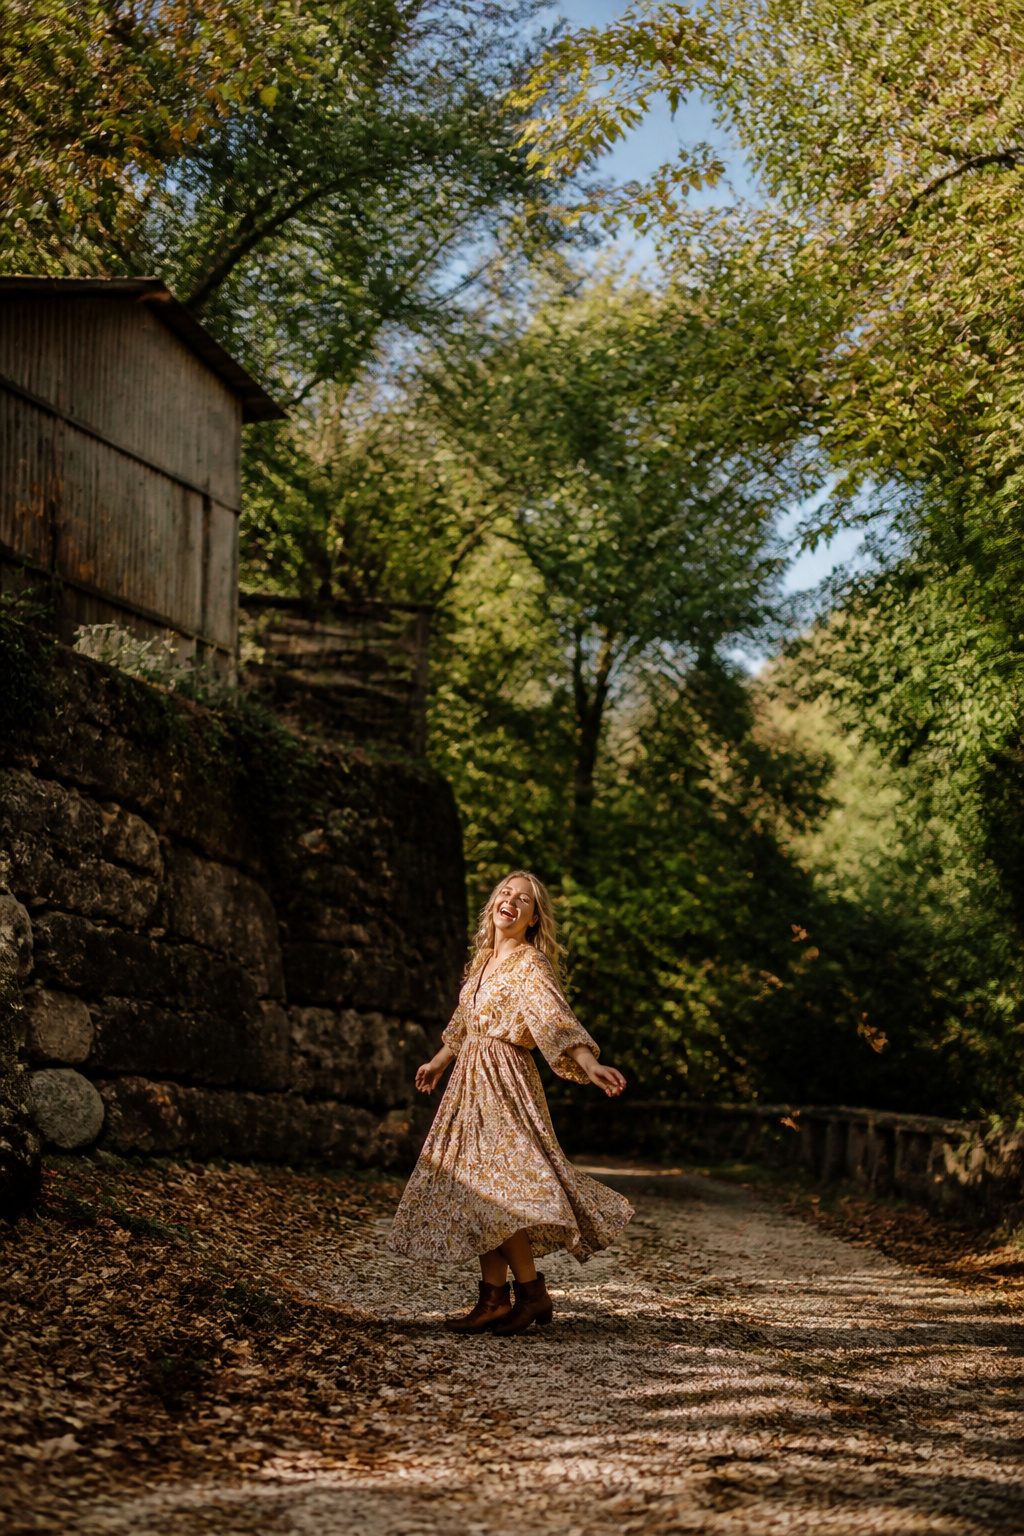
Tension shows up before anything else does. The jaw tightens, the shoulders ride up toward the ears, and the smile goes flat. I have learned to take a full breath and let it out slowly before the shutter clicks; the shoulders drop almost on their own, and the face follows. Some photographers keep music playing, or they talk through the shoot like it is a conversation instead of a performance. That small shift matters. Movement helps too. A slow walk, a turn, a hand brushing hair back: the body relaxes when it has something to do instead of something to hold.
The background should complement you, not compete. A tree branch growing out of your head or a neon exit sign glowing behind your ear will pull every eye away from where it belongs. Clean, simple backgrounds with enough contrast keep the focus where it belongs. Black hair against a black wall disappears; all white in front of all white does the same. Even a bathroom mirror selfie improves when the shampoo bottles are gone and the glass is clean.
Props can steady nervous hands if they fit the scene, though nothing in your fingers should become the subject. The real work is building enough comfort that the camera becomes forgettable. Practice in different settings: a busy street, a quiet room, golden hour light. Each one teaches the body something about being present without performing. The best shots often come from the moments between poses, when the guard drops and the person reappears.
What to Wear for Different Photo Types
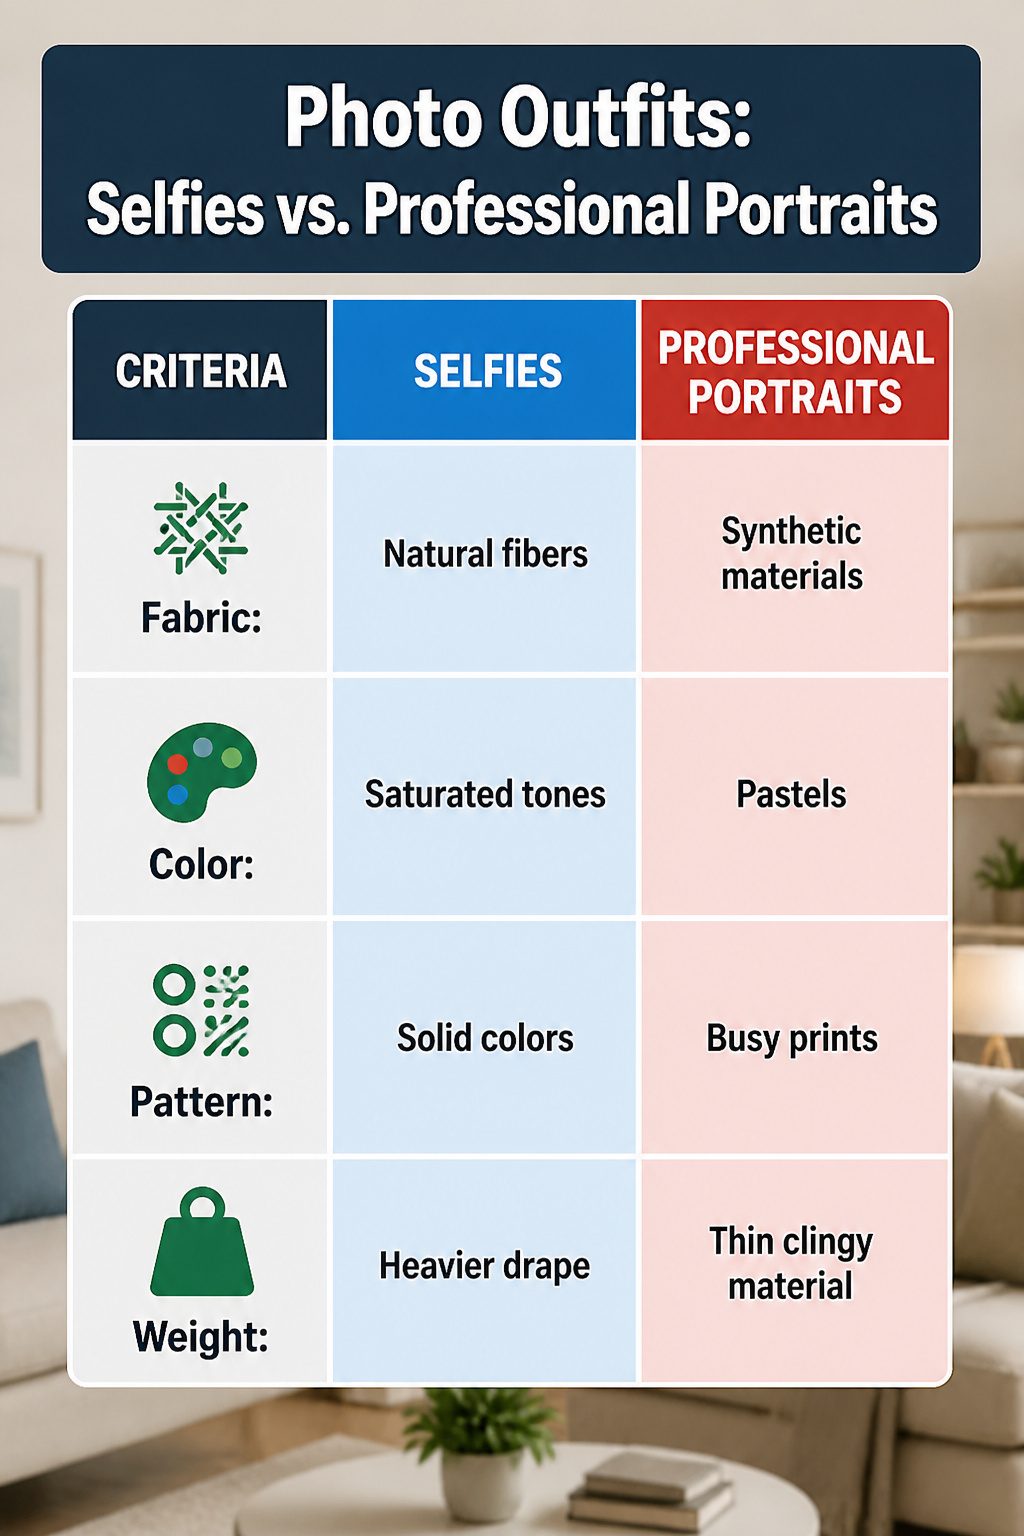
The fabric you choose behaves differently depending on where the photo gets taken. Selfies usually rely on phone flash or available indoor light, which can turn lightweight synthetics into a shiny, reflective surface that catches every glare. Natural fibers like cotton or linen absorb that light instead, giving skin tones a softer landing. For casual group shots outdoors, saturated colors such as deep reds, royal blues, or emerald greens hold up against daylight in a way that pale tones often do not; pastels can wash out or read as dated unless they deliberately contrast with the background, like pastel blue against a cornflower wall.
Professional portraits are where fabric weight matters most. Overhead or direct studio lighting casts shadows under the eyes and chin, and thin, clingy material will show every fold and tension line where the body meets the light. A heavier drape or structured weave keeps its shape and gives the camera something solid to read. Patterns need the same scrutiny: extra-small prints and tight stripes can strobe or add width on digital sensors, while solid blocks of color keep the focus on the face. Whatever the setting, wrinkles, bunching, or a missing button will magnify once the shutter clicks, so five minutes with a steamer before heading out beats any filter after.
Quick Prep Checklist Before Any Photo
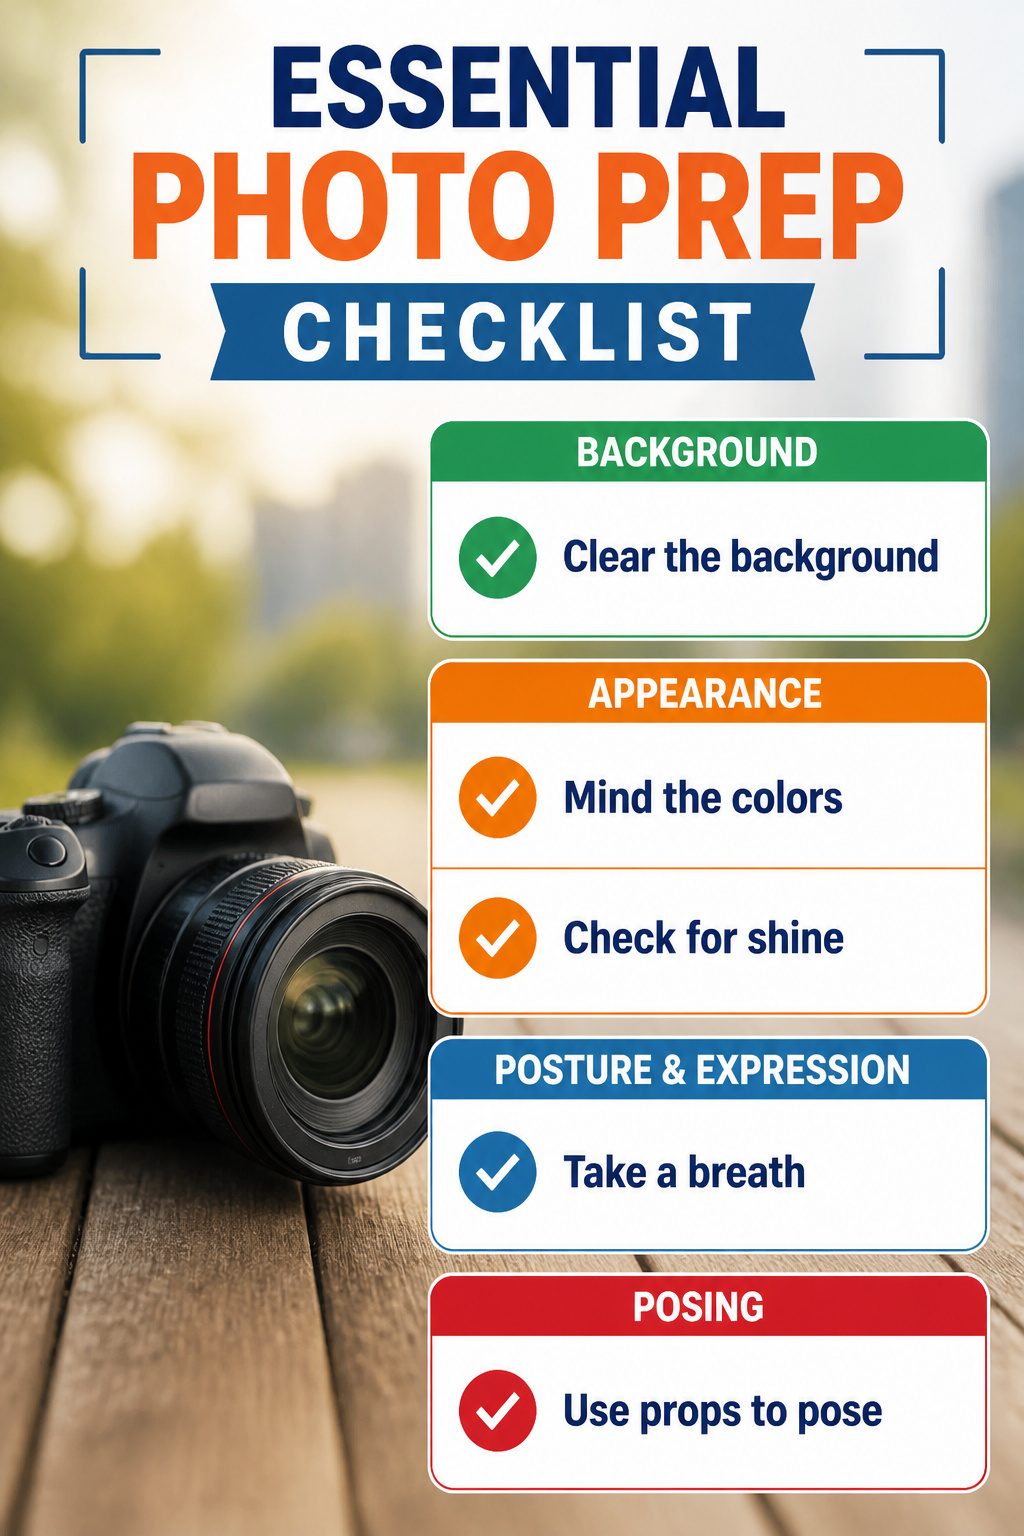
A quick scan of the frame before the shutter clicks saves more shots than any pose. Keep nothing sprouting from your head, no tree branches or lamp posts, and watch for neon exit signs or trash cans that pull the eye away. If the background is dark, step away from dark clothing; if it is light, avoid all-white outfits so you do not disappear into the wall. For bathroom selfies, clear the shampoo bottles and wipe the mirror so the setting does not read like a bathroom.
Oily skin turns reflective under flash and sunlight. Blotting sheets in a bag let you touch up right before the photo without adding more product.
A matte foundation check matters too. Dewy formulas that look alive in person can read as grease on camera.
Breath awareness keeps shoulders from creeping toward ears. Holding air locks the knees and stiffens the whole frame. One exhale, a drop of the shoulders, and a little weight shift softens everything.
Props help if empty hands feel awkward. A coffee cup or a jacket slung over an arm gives the fingers something to do without stealing focus. Skip the bunny ears and victory signs; they age a photo instantly.
Common Mistakes That Ruin Good Photos
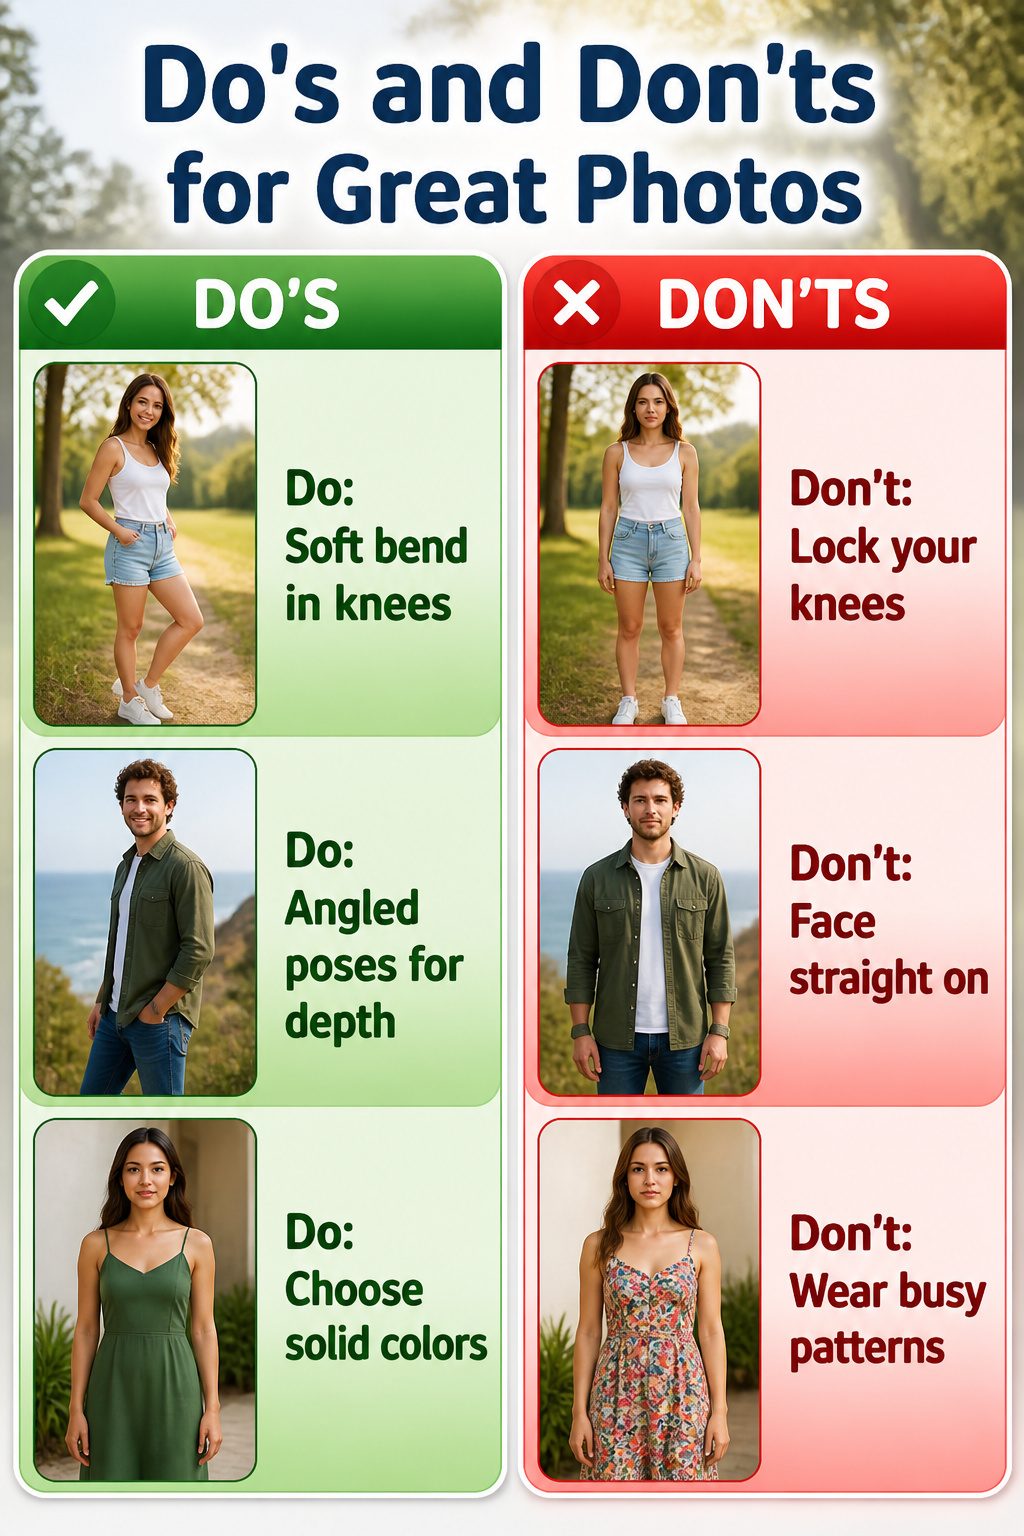
Most of the photos that get deleted come down to a few fixable habits. Here is what to watch for:
- Locked knees and held breath flatten the body and freeze the face. A soft bend in the legs and steady breathing keep the pose alive.
- Facing the camera straight on reads wider and flatter than a 45-degree angle, which is why magazine shots rarely use it.
- Overhead lighting throws ugly shadows under the eyes and chin. Side or front light is almost always kinder.
- Busy patterns, especially tiny prints or tight stripes, compete with the subject and can distort on camera. Solid colors or simple textures photograph cleaner.
- Neon shades and super bright whites wash out skin or create harsh contrast. Saturated color works better when it flatters the hair and skin tone rather than fighting it.
- Tight or too-baggy clothing bunches, wrinkles, or restricts movement, and the camera magnifies every flaw.
- Stiff, stick-straight arms look robotic. A slight elbow bend softens the whole pose.
Frequently Asked Questions
How can I look better in photos naturally?
Focus on small posture shifts instead of stiff posing. Angle your body about forty-five degrees away from the lens, shift your weight onto your back foot, and push your chin slightly forward and down. These minor adjustments create flattering lines and dimension without looking forced.
What is the most flattering way to stand for pictures?
Stand at a forty-five-degree angle to the camera rather than facing it straight on. Shift most of your weight onto your back foot, which softens your front leg and lets an S-curve form naturally through your body. Keep your knees unlocked and your spine tall to maintain length and ease.
How do I avoid looking awkward in family photos?
Work with a photographer who gives clear direction and incorporate movement into the shot. Walking, shifting your weight, or interacting with someone you love keeps the body relaxed and the photo from feeling staged. Movement gives your hands something real to do, which stops the pose from looking frozen.
What should I do with my hands in photos?
Keep your arms slightly lifted, about an inch or two away from your torso, to avoid looking wider than you are. Rest them lightly on your hips, slip them into pockets, or hold a prop with a gentle touch. Avoid pressing hard against your body, which creates tension and reads as stiff.
Why do I look stiff in photos?
You probably look stiff because you are holding your breath, locking your knees, or overthinking the pose. Take a full breath and let it out slowly before the shutter clicks; your shoulders will drop and your face will relax. A soft bend in the legs and a little weight shift keep the pose alive instead of frozen.