A salon-quality manicure at home takes about 45 minutes, costs under $10 in supplies, and fails at one predictable point: most people skip the degreasing step and watch their base coat bead up like water on wax. The real condition that changes everything is whether your nails are actually clean and dry before polish touches them, since invisible oils from soap and skin repel adhesion and guarantee chips by day three. Essie’s Gel Couture line can cut some of that time, but even quick-dry formulas demand those two minutes between coats that Weingarten specified, or the surface skins over while layers underneath stay wet.
1. Wash Your Hands
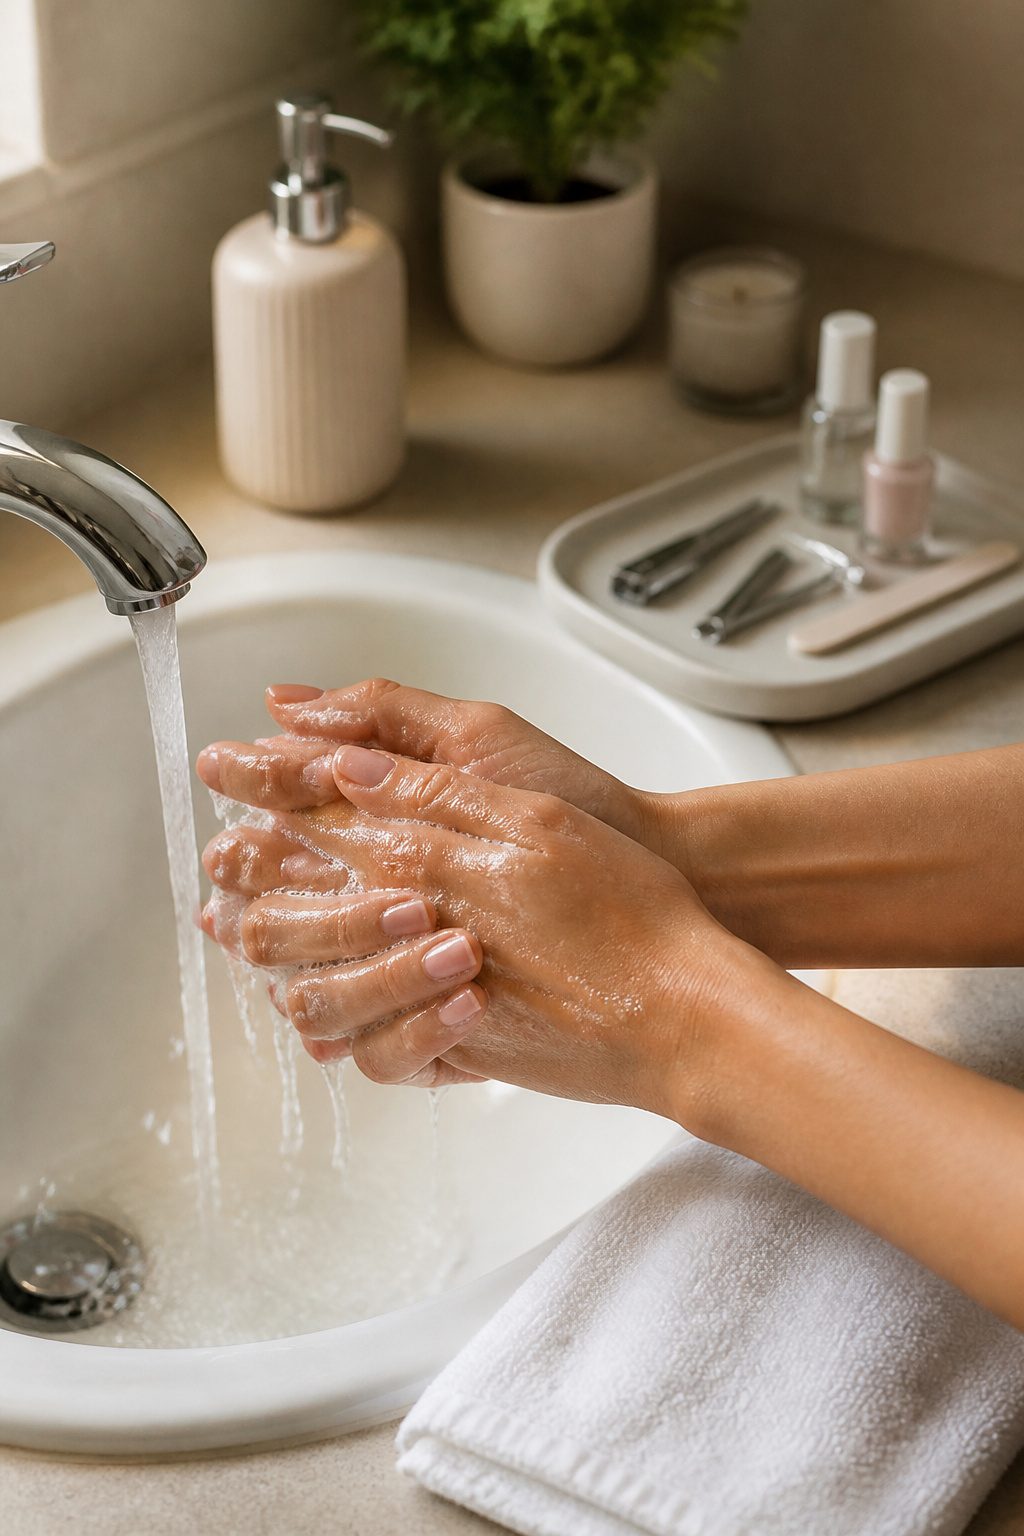
Oil on your fingertips is the fastest way to turn a fresh manicure into a streaked, bubbling mess. I learned this the hard way after skipping a proper wash and watching my base coat bead up like water on wax. Clean, dry nails give polish something to grip, and skipping this step means your whole manicure can lift or chip within a day or two.
Warm water and gentle soap do the actual work here. Scrub under the nails and between fingers, where residue hides, then dry thoroughly with a clean towel. Even if you are not removing old polish, a quick pass with nail polish remover on a cotton ball picks up the invisible oils soap leaves behind. Acetone or non-acetone both handle this; the point is the degreasing, not the solvent strength. Moisturize after, not before, so oils do not migrate back onto the nail plate right before you paint.
2. Remove Previous Nail Polish
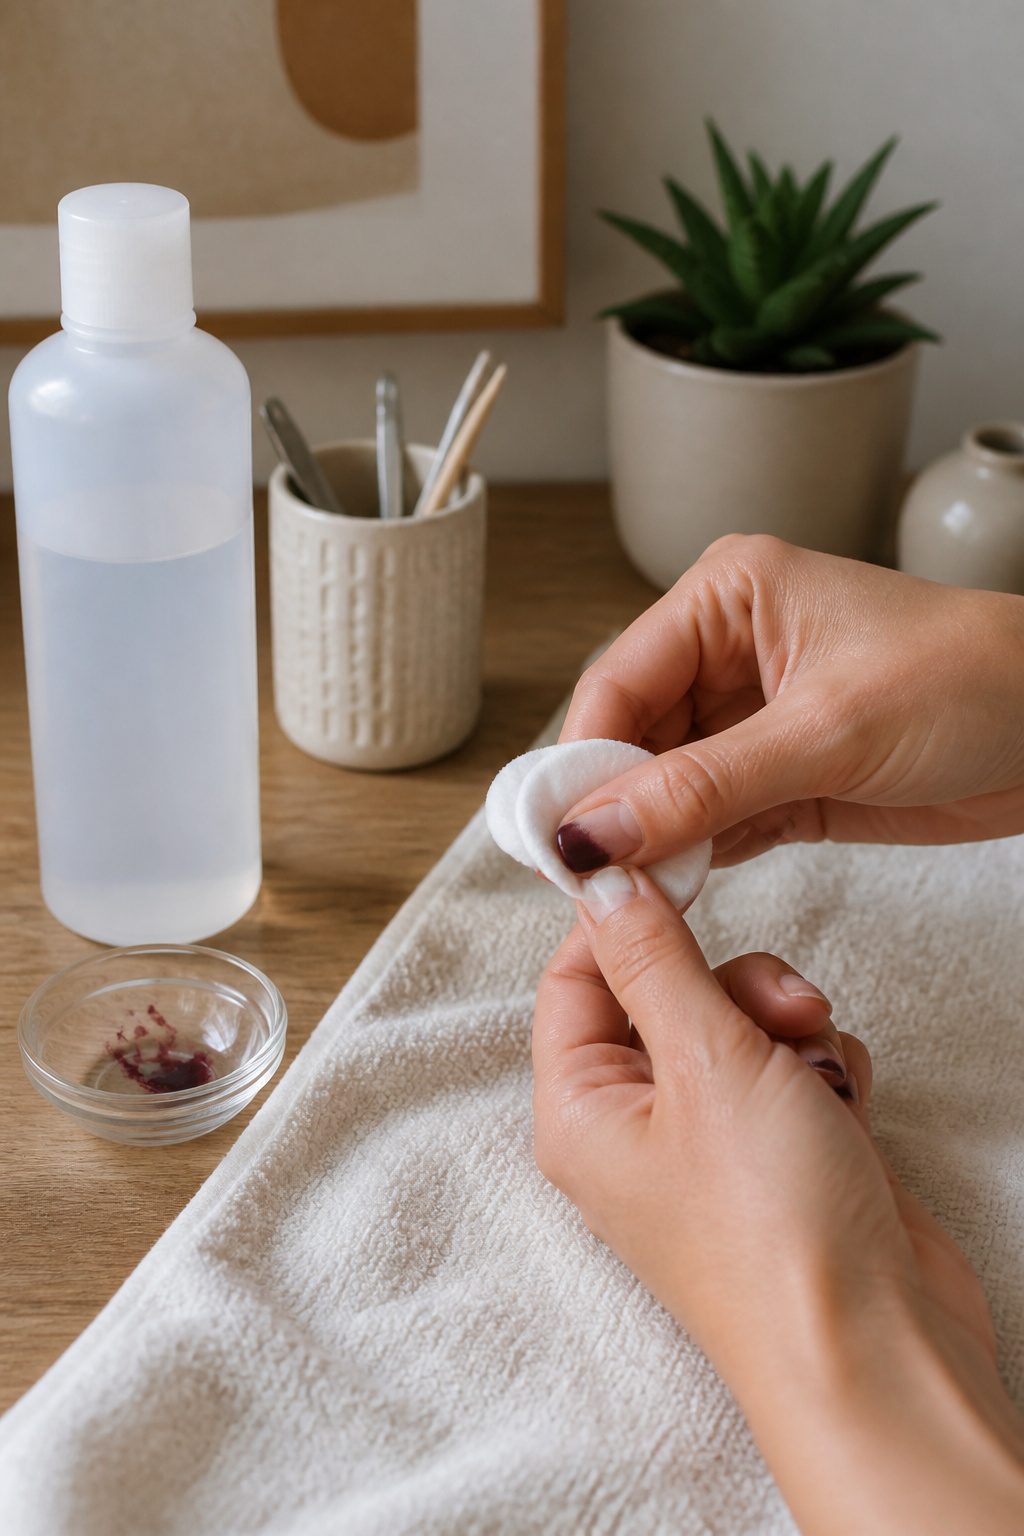
Old polish has to come off completely, or the new coat will lift and streak within a day. I press a soaked cotton pad against each nail for a few seconds, then wipe in one direction from base to tip. Scrubbing back and forth roughs up the surface, and that damage shows through later.
Acetone dissolves polish fastest, even the glitter formulas that otherwise flake off in pieces. Cutex Ultra-Powerful runs about $3 and includes natural oils meant to offset the dryness acetone causes. Non-acetone removers, like Ella + Mila’s soy-based version, work slower but spare fragile nails the brittleness. Either way, bare nails still need the remover pass: the skin leaves enough oil behind to warp polish adhesion. Soap and water after, then dry thoroughly, and the base coat actually has something to grip.
3. Trim and File Nails
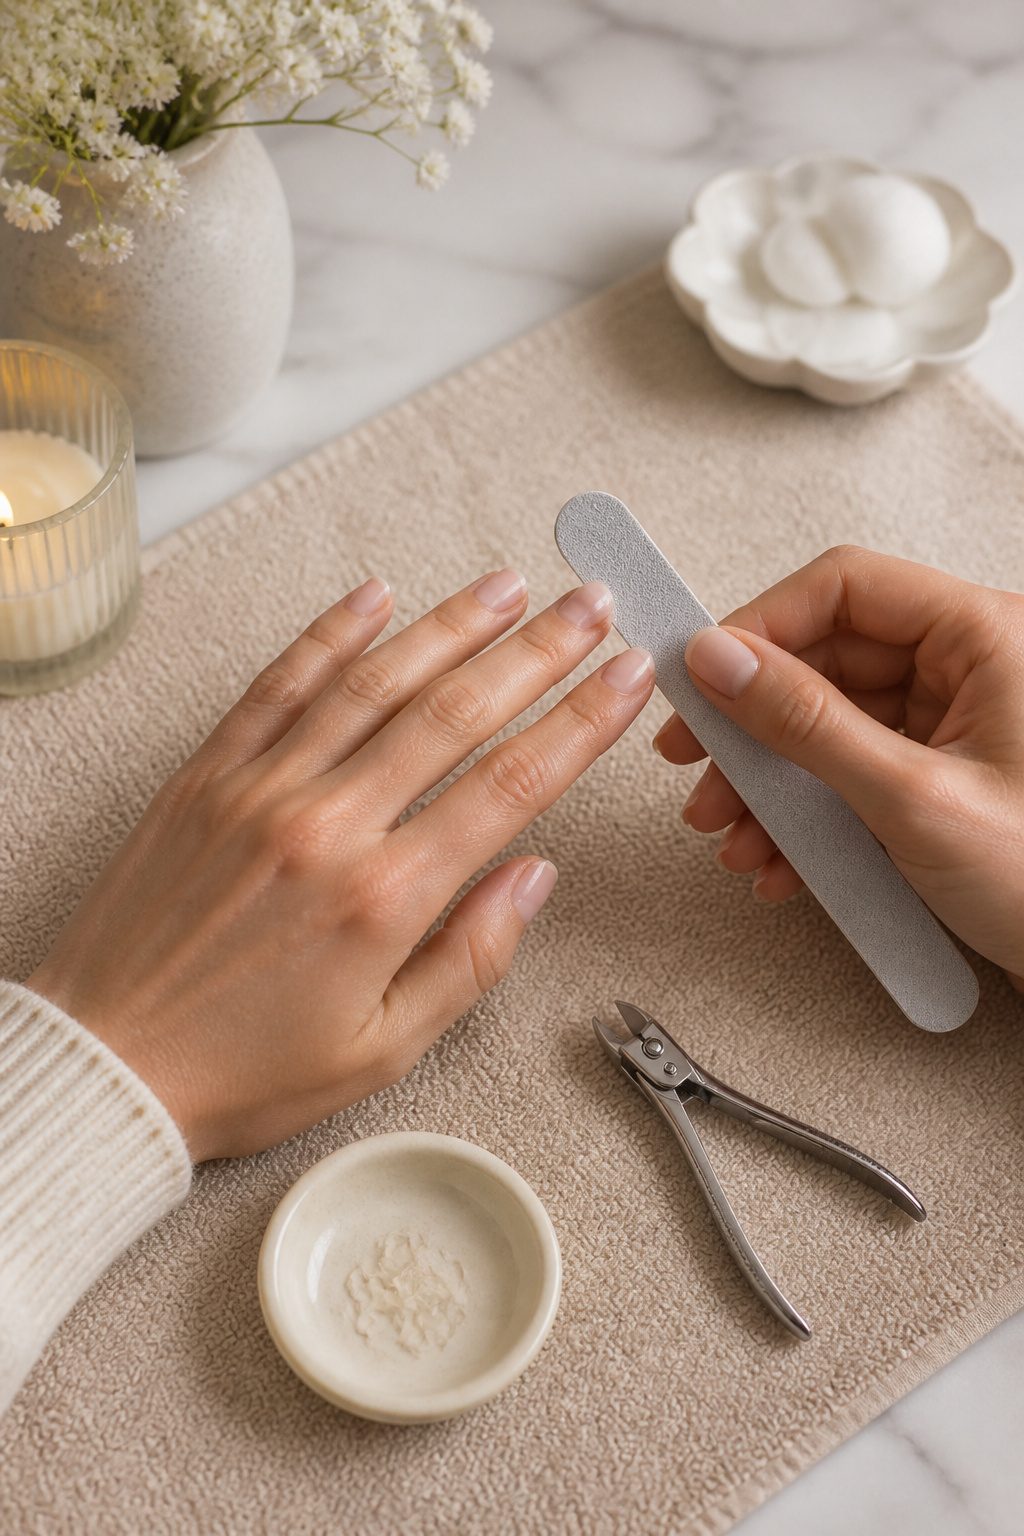
Nail clippers and a nail file are the two tools that matter here, and the order you use them matters just as much. I clip first, straight across, then finish the edge with the file rather than trying to shape with the clippers themselves. Filing in one direction keeps the nail from splitting, a habit I picked up after ruining a few sets by sawing back and forth. For thin nails, holding the file flush and tilting it slightly underneath gives you a cleaner edge and keeps you from taking off more than you meant to. The shape is personal, though most sources land on round, oval, or square, and I’ve found that mirroring my natural nail bed looks better than forcing a trend. File gently and stop when the edge feels smooth, not when it looks perfect under a magnifying light. Clean under the nails while you’re at it, since this is the last chance before polish goes on.
4. Soak Nails and Care for Cuticles
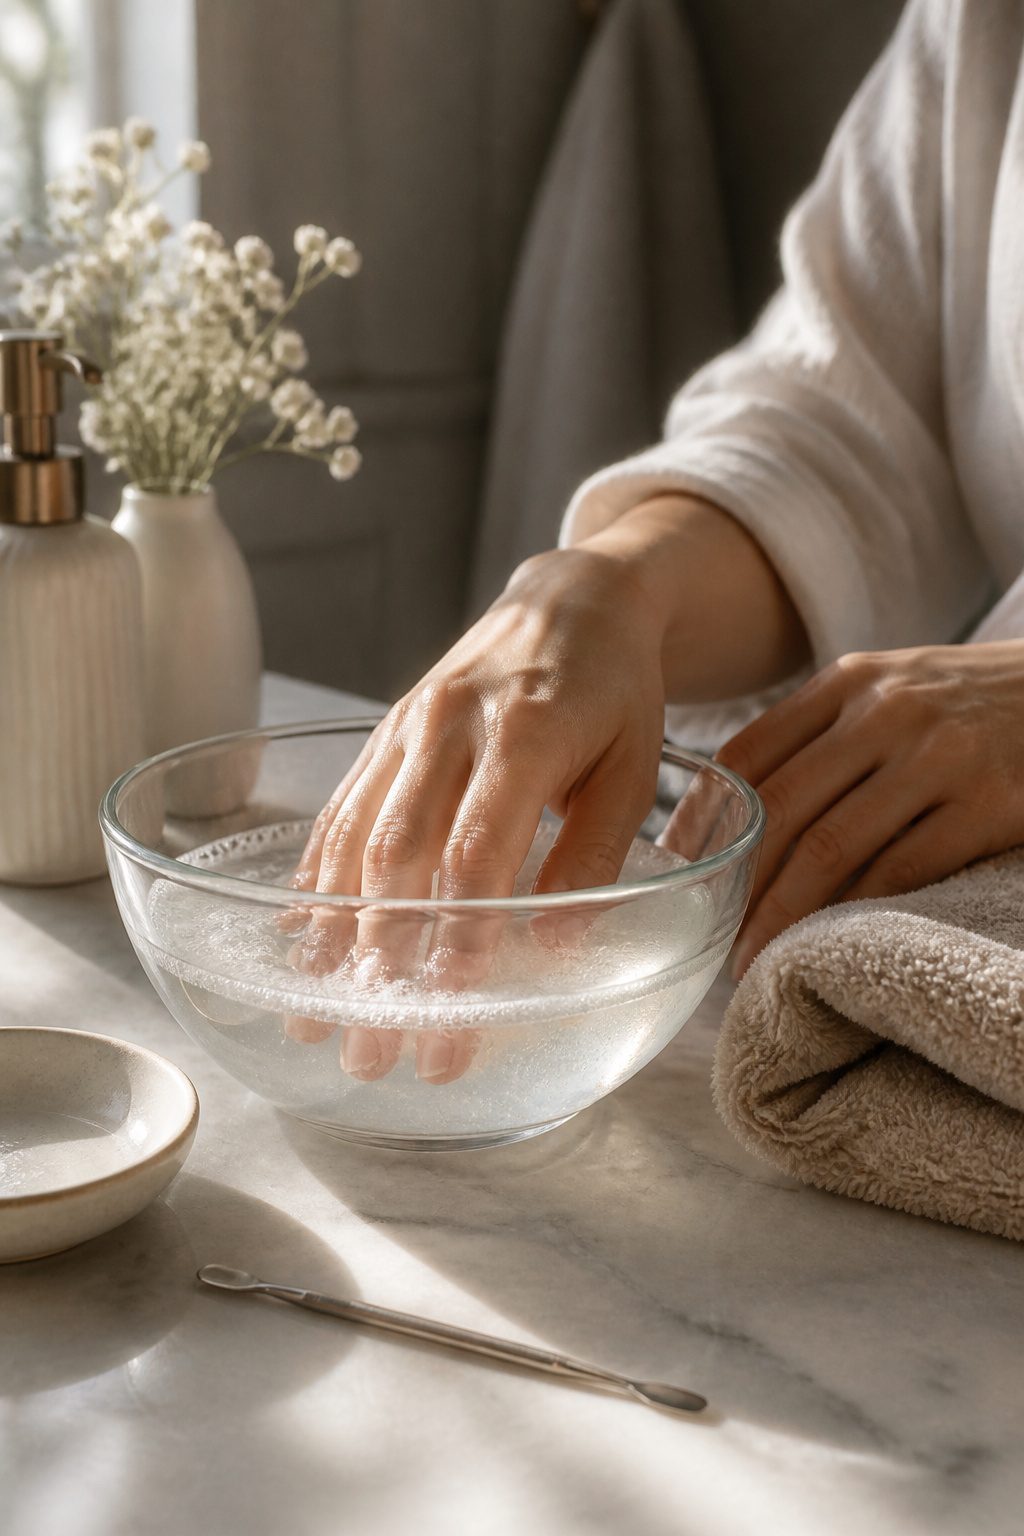
A bowl of warm, soapy water sits on my bathroom counter for about three to five minutes while I wait for the cuticles to soften. Soaking works, though some pros now skip it entirely and reach for a cuticle softener instead. The reasoning stuck with me: nails are porous and absorb water, which puffs them up slightly, so polish applied after soaking is more prone to chipping.
Once the skin yields, a cuticle pusher, usually stainless steel, gently pushes the tissue back from the nail bed. The rounded end of the tool does the work; no force is needed. A cuticle nipper comes in only for hangnails or obvious excess, and even then, trimming the full perimeter is a mistake I have learned to avoid. Cuticles grow back thicker and faster when you remove them completely, and the skin there protects against infection.
5. Buff Nails
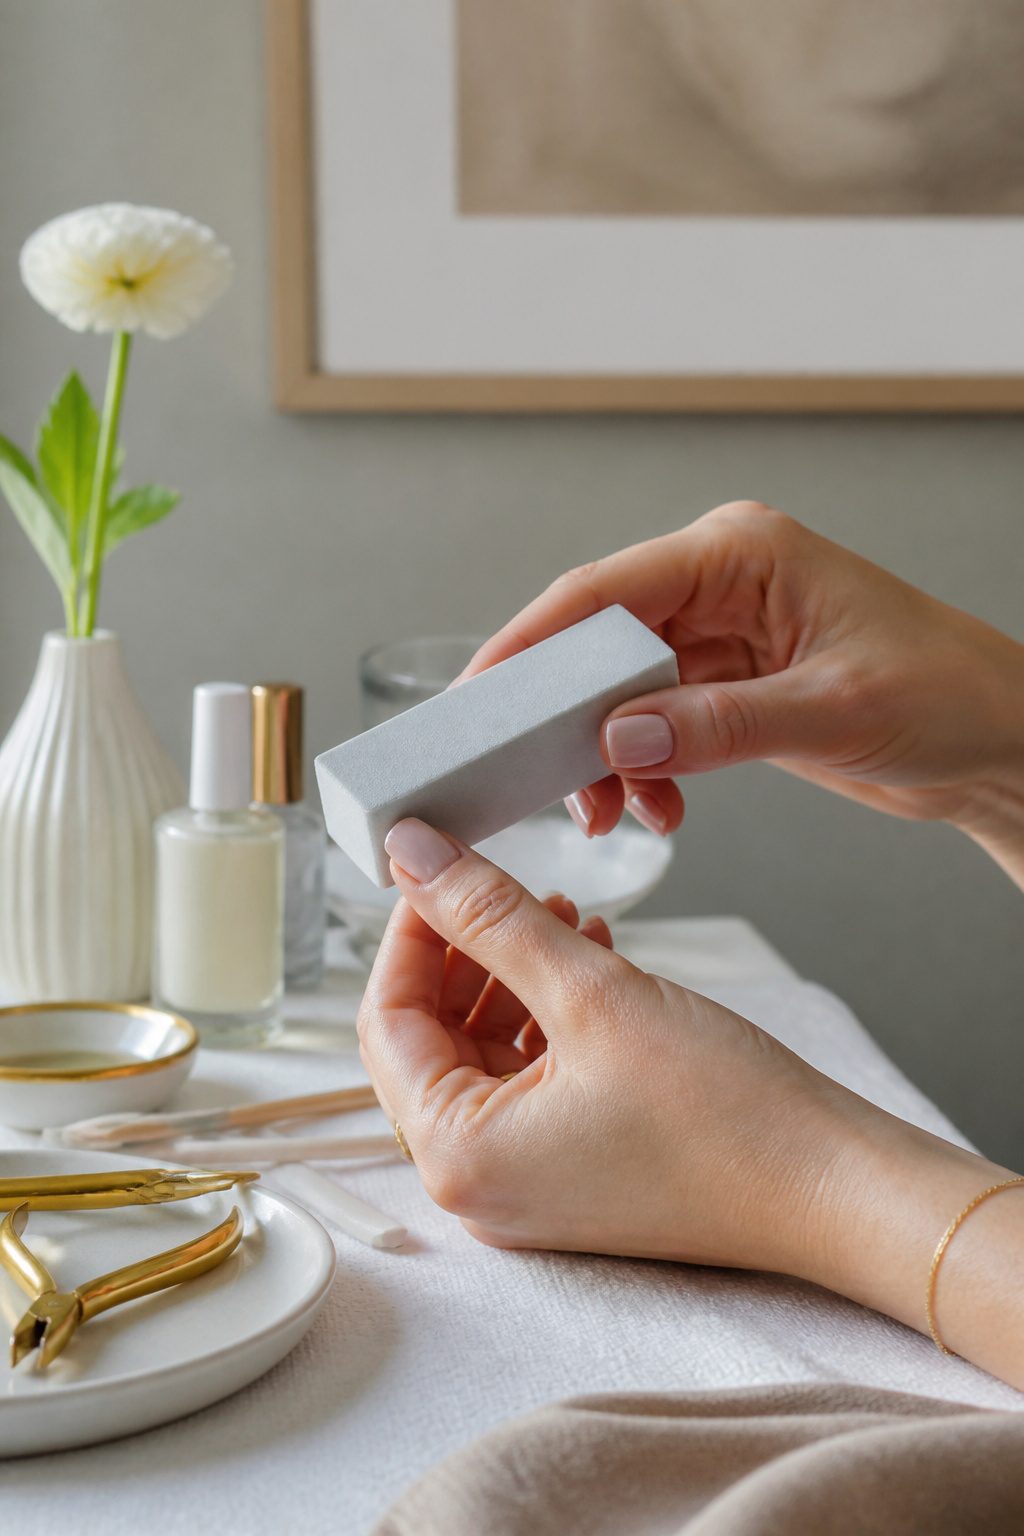
A 240-grit buffer takes the nail surface from slightly ridged to something polish can actually grip. The softer side does the work here; run it in one direction across each nail until the whole plate feels uniform, not glassy. Stop before you hit that slick finish, though. Buffing too smooth backfires: polish needs a faintly etched surface to bond with, and over-buffing leaves nothing for the base coat to hold. My own nails split at the free edge, so this step doubles as repair, evening out the layers so the color coat doesn’t crack along a fault line later. A quick pass with 240-grit is enough; more buffing is not better buffing.
6. Exfoliate and Moisturize Hands
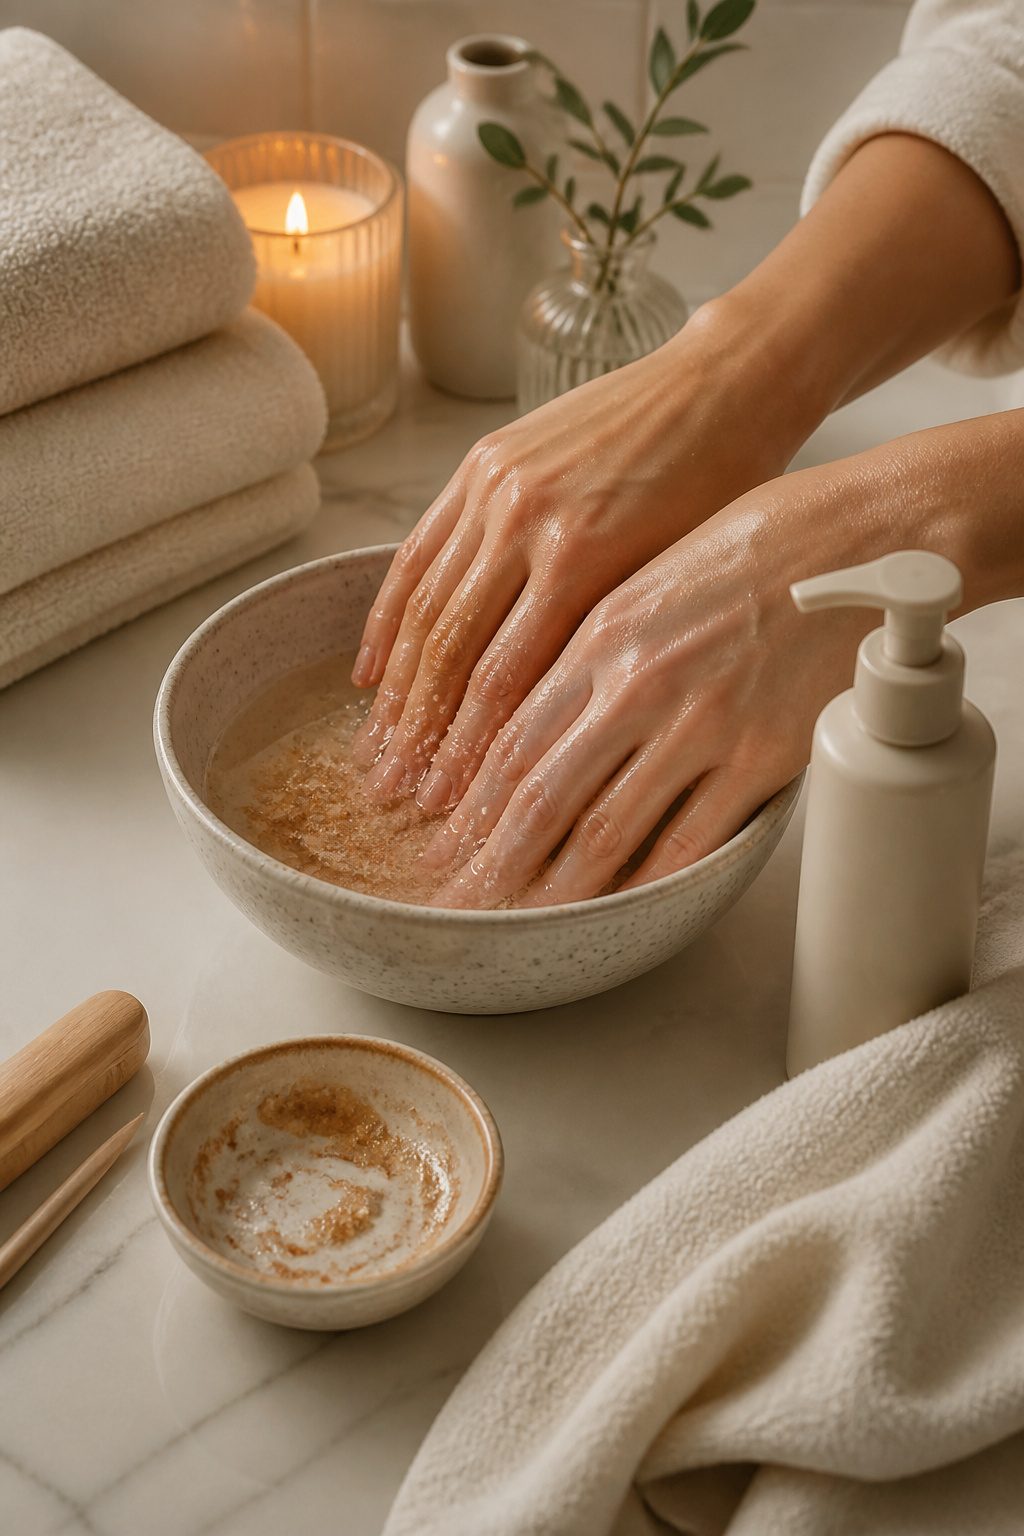
Dead skin on the knuckles and the backs of your hands will catch the light and undo the polish job you’re about to do, so this is the moment to scrub it off. I work a gentle hand scrub in circles, hitting those dry patches directly, then rinse until the water runs clear. Moisturize after buffing, not right before polish—hand cream or lotion right now is about the skin, not the nails, and any residue left on the nail plate will repel base coat and invite chips by day three. Massage the cream into the cuticles too; soft cuticles sit cleaner against the polish line. If your hands are especially dry, a sugar scrub once or twice a week between manicures keeps the buildup from returning, followed by cuticle oil and a sealing layer of hand cream to lock the hydration in.
7. Apply Base Coat
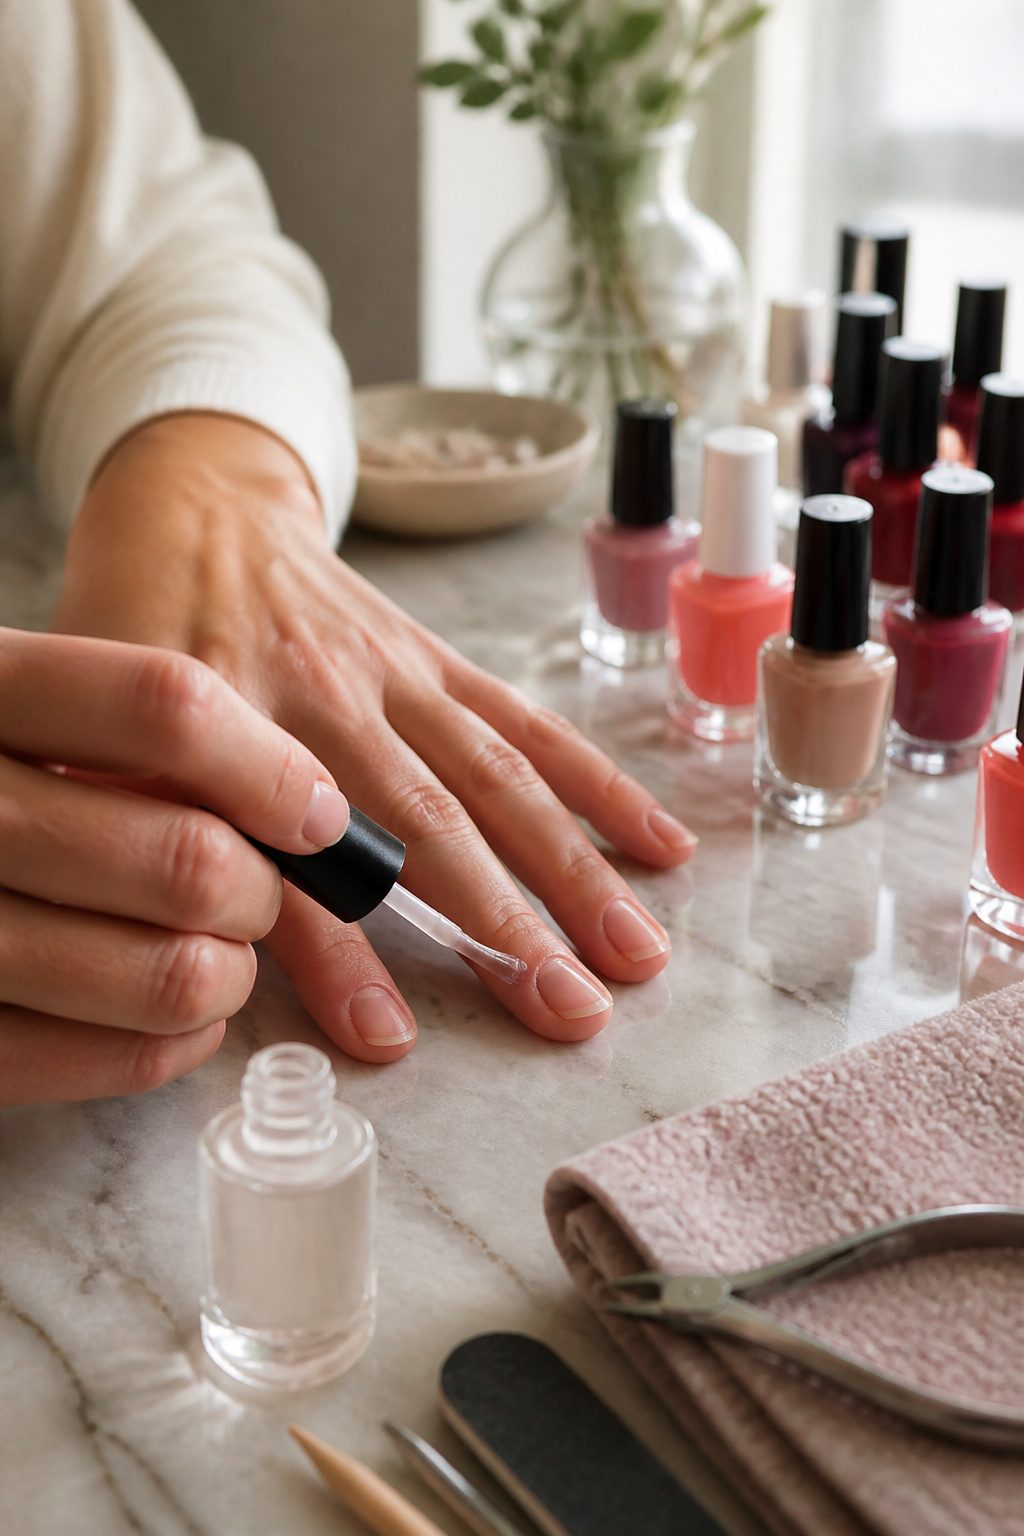
A base coat does two jobs at once: it shields the nail from staining and gives the color layer something to grip. Dazzle Dry Base Coat handles both, though I tend to reach for it mainly because of how it locks polish in place. The formula sets in about three to five minutes, which matters more than it sounds once you are sitting at your own table without a salon’s quick-dry lamps.
If your nails are brittle or peeling, this is the step to swap in a treatment. A strengthening base coat trades some color adhesion for repair; Dazzle Dry stays the better pick if your nails are already healthy and you want the longest wear. I have tried layering a nourishing base underneath Dazzle Dry, but two coats of base tends to add bulk that chips faster. One coat of the right product, matched to what your nails need that week, beats a stack of compromises.
8. Apply Nail Polish
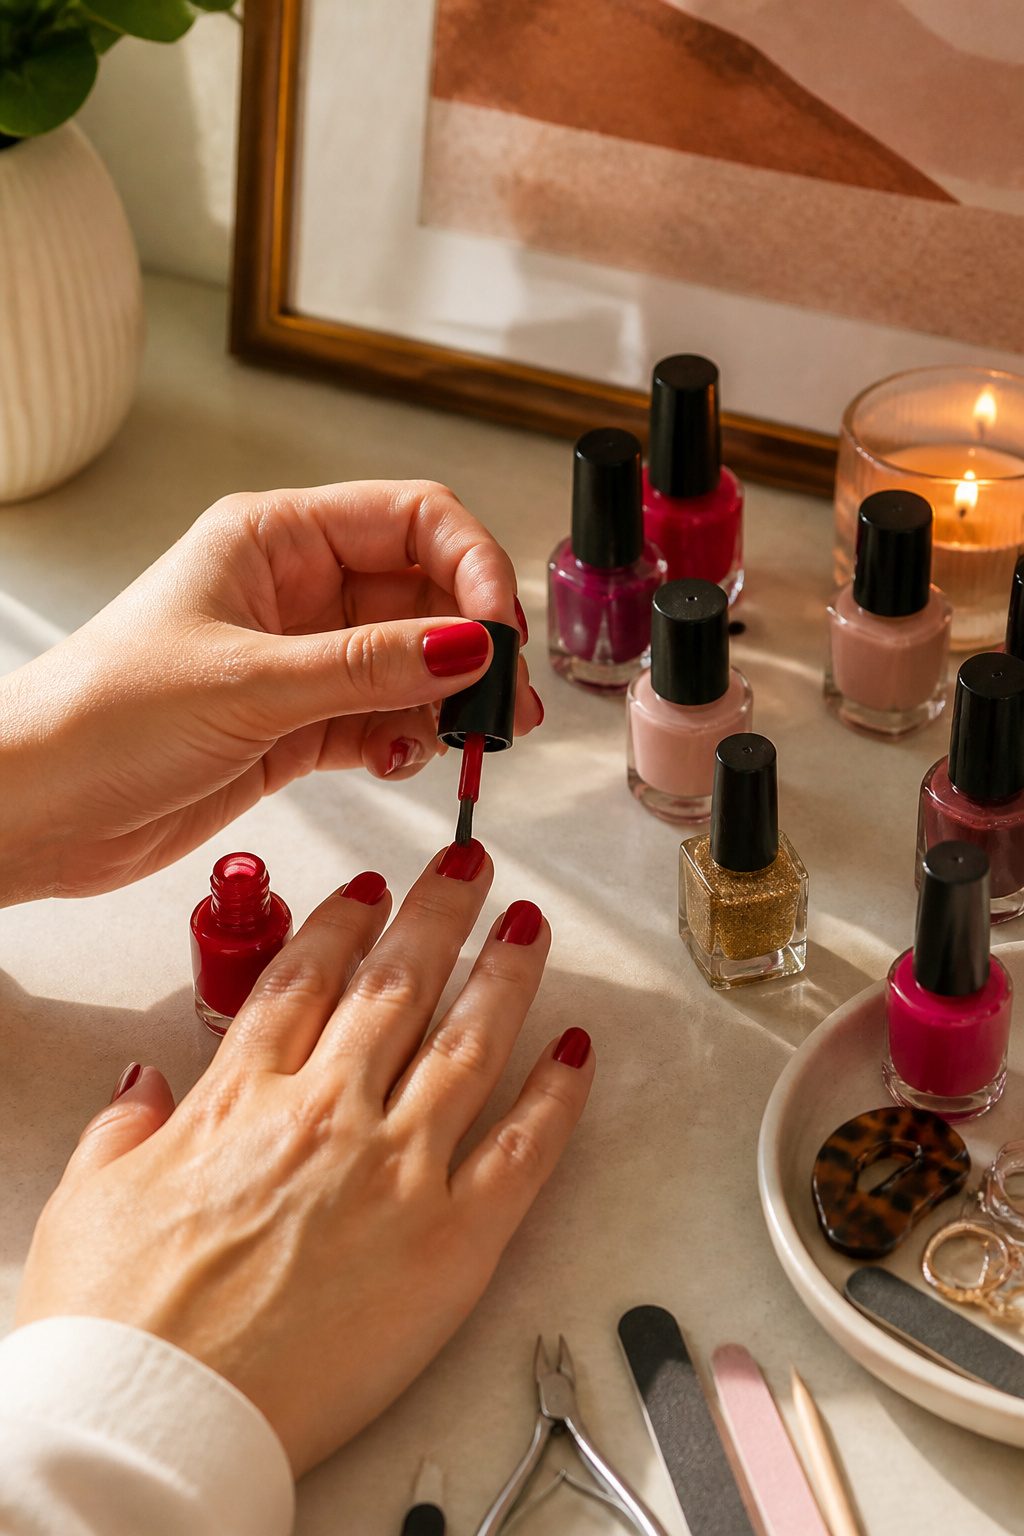
Essie’s Gel Couture line skips the base coat entirely, which shaves real time off the whole process. I still give each coat a full two minutes before the next one goes on; Essie Weingarten recommends that wait, and gel formulas behave better for it. Two thin coats beats one thick coat every time. A heavy layer pools at the edges, wrinkles under the lamp, and takes forever to set. The thin approach dries faster and wears longer, though sheer or pastel shades may need a third coat for real coverage. I paint the center stroke first, then one on each side, and I always seal the free edge of the nail with the last pass. That tiny rim of polish is what stops water from creeping underneath and lifting the color three days in.
9. Apply Top Coat
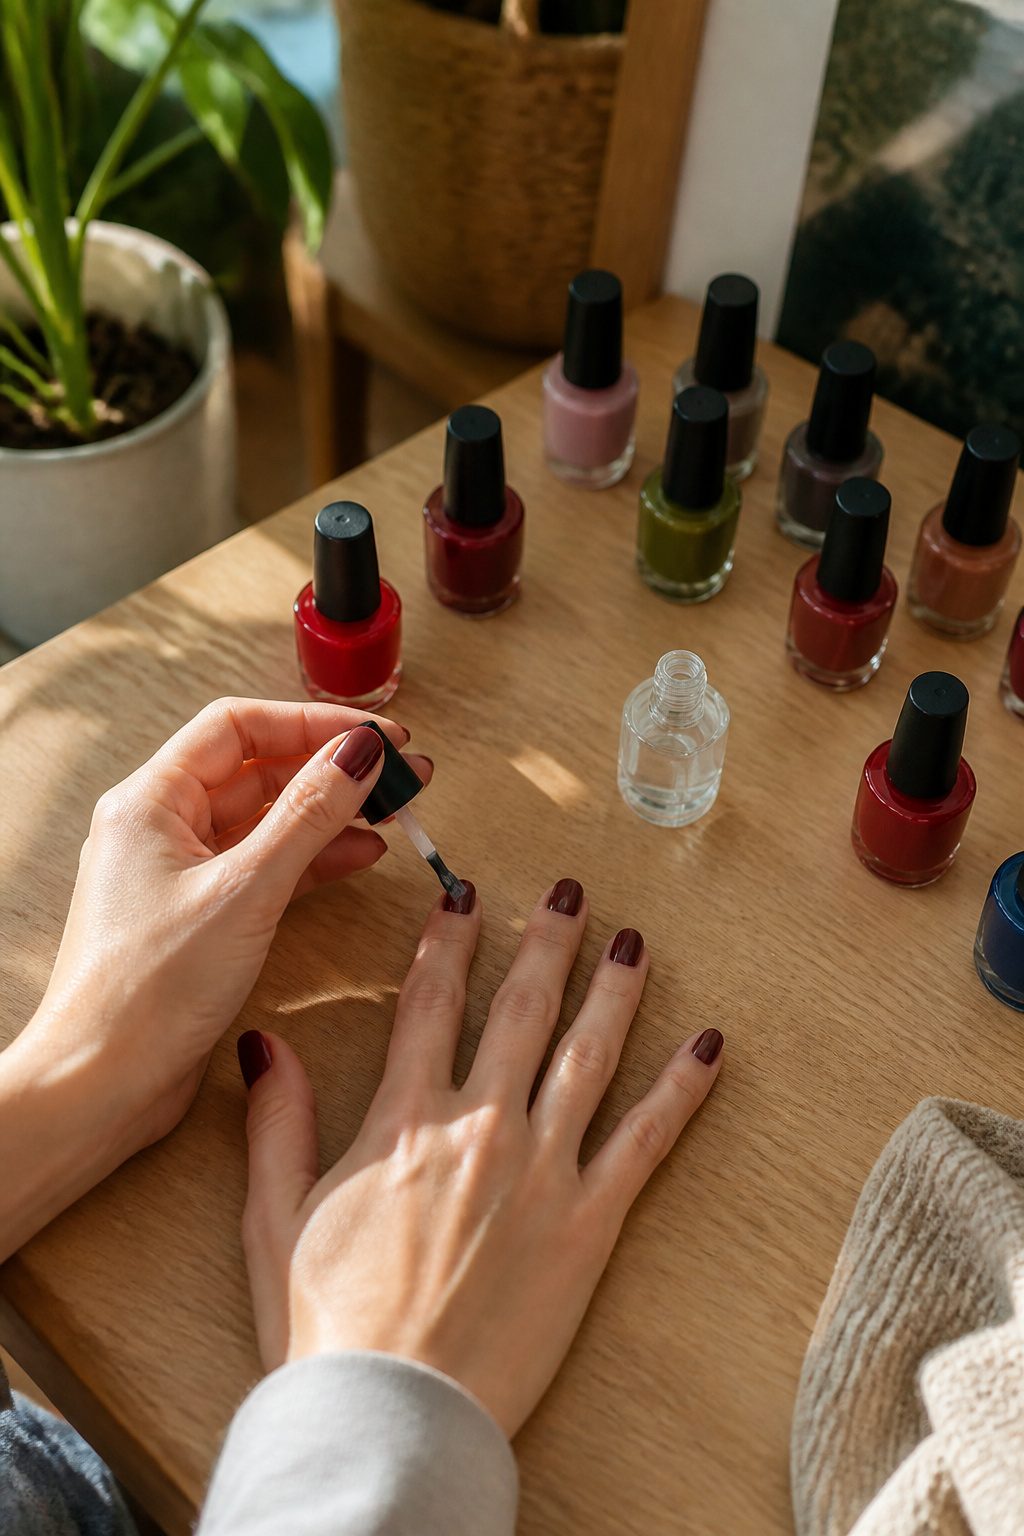
The top coat is where most at-home manicures quietly fall apart. I used to treat it as optional, something I’d skip if the color looked glossy enough on its own or if I was running late. That polish would look decent for maybe two days before the edges started wearing down, and by day four I’d have full chips on three nails. The $12 Zoya Naked Manicure Glossy Seal Top Coat or a standard OPI Top Coat buys you a week or more of extra wear by sealing the surface against friction and moisture.
The mistake with clear top coat is assuming you can slap it on carelessly because it has no color. Manicurist Madeline Poole notes that topcoats actually tighten as they dry, which pulls the finish into visible ridges if your stroke is sloppy. Wait until your color coat feels dry to a light touch, then apply from base to tip in smooth strokes, and cap the free edge to prevent the chipping that starts from corners and tips.
"Women think, It’s clear—you can’t tell. But really, you can, once it dries."
— Glamour
That shrinkage Poole describes means your final layer needs the same precision you gave your color. Two minutes of careful sealing here separates a manicure that lasts the weekend from one that lasts the week.
10. Dry Your Nails
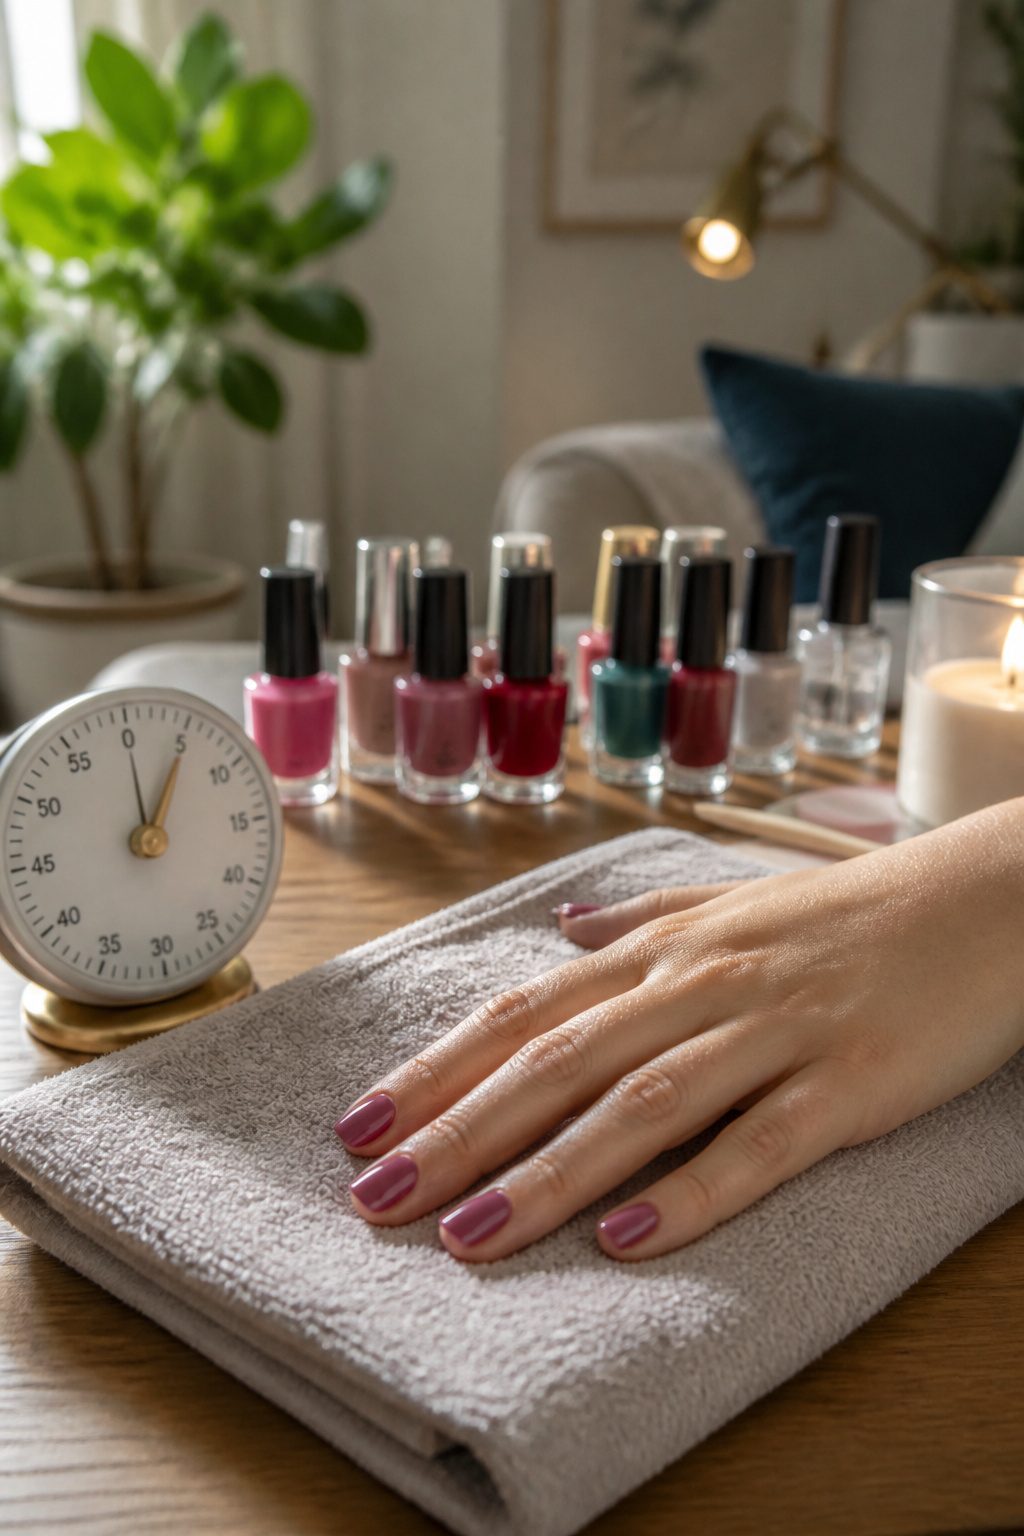
Five minutes is the minimum wait after the last coat goes on, though thin layers and quick-dry formulas like Ultra HD Snap!™ can push you toward the lower end of that range. The real test is whether the surface still feels tacky or gives off that faint chemical warmth; if either is present, you have not waited long enough.
Rushing this last step undoes the filing, the cuticle work, the even base coat, all of it. A smudge at minute four means starting over at the polish step, not dabbing it smooth. The five extra minutes of stillness are what separate a DIY manicure from a DIY disaster. Fold a remover pad into a triangle before you sit down so cleanup happens after the dry, not during it, when one wrong touch drags color across the whole nail.
What You Need
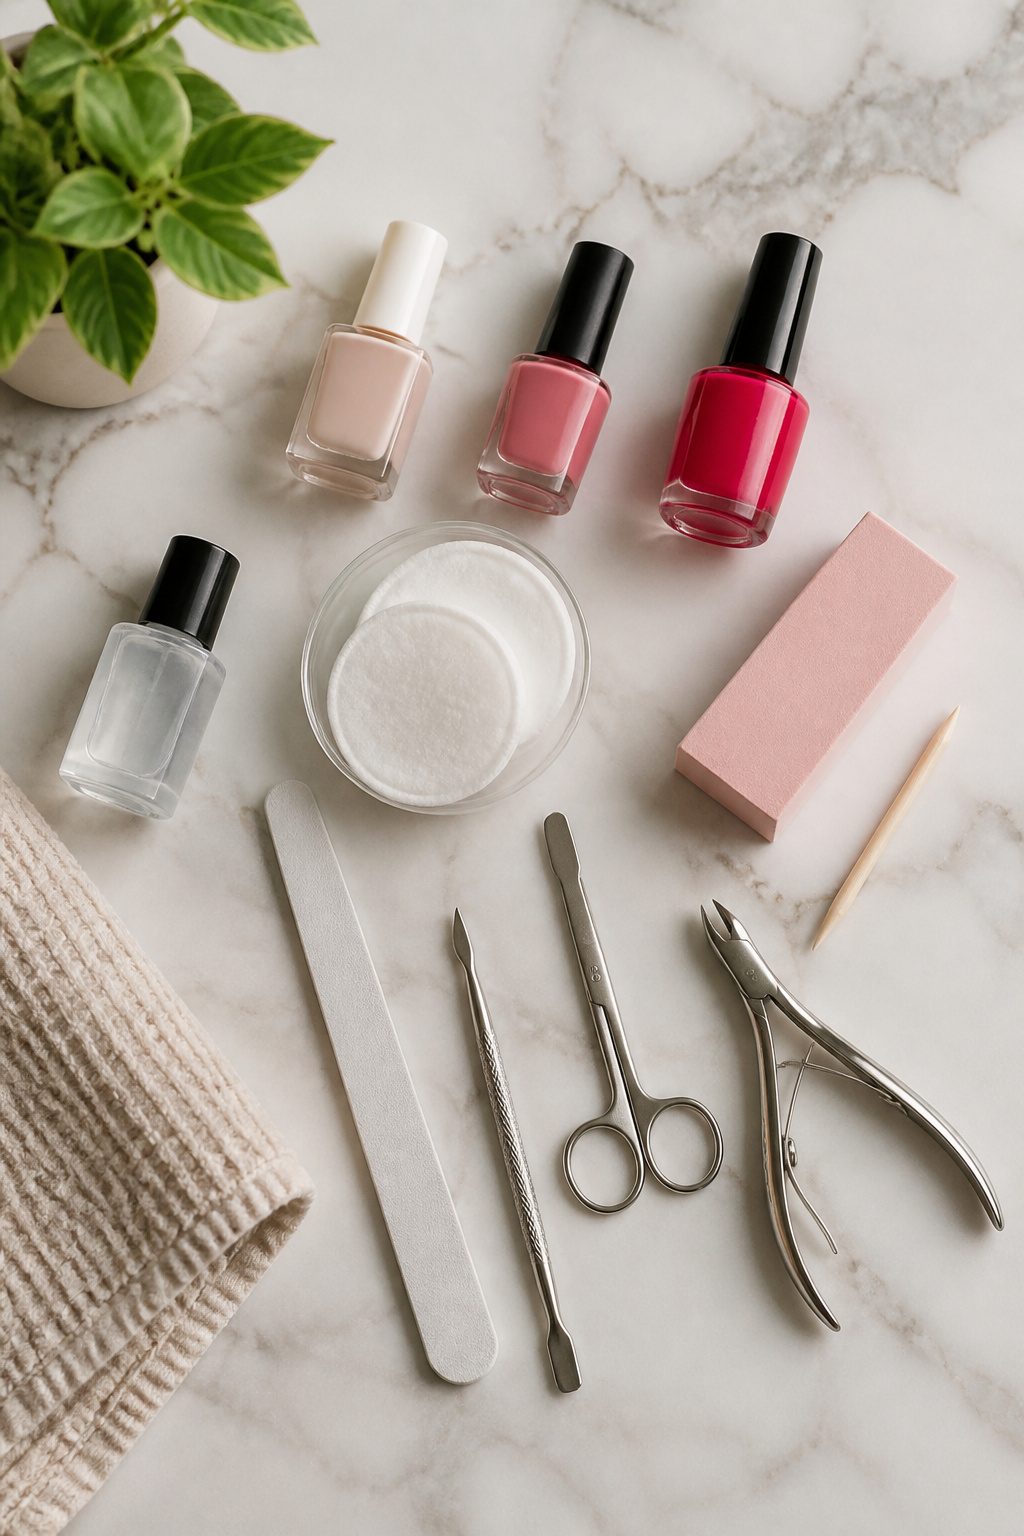
A clean start depends on having everything within arm’s reach before you begin. Running across the room with wet polish is a mistake I have made more than once.
Here is the full checklist:
- Nail polish remover: Acetone-free formulas remove even dark shades without drying the nail plate.
- Cotton pads or balls: Soft ones, not the rough kind.
- Nail clippers: For taking length down before you shape.
- Nail file: A 240-grit buffer works for smoothing; anything lower risks being too abrasive.
- Cuticle pusher: Stainless steel pushes back softened skin cleanly.
- Cuticle nipper: For trimming hangnails and dry skin only, not the full cuticle.
- Base coat: Prevents staining and gives polish something to grip.
- Nail polish: Two coats is standard.
- Top coat: Choose classic, matte, or gel finish depending on the look you want.
- Hand lotion or cream: Heavy formulas work best, applied after the cuticle step.
- Cuticle oil: A few drops at the end, or nightly for maintenance.
Some pros skip the water soak entirely and use cuticle softener instead, since waterlogged nails are more likely to chip once polished.
Common Mistakes
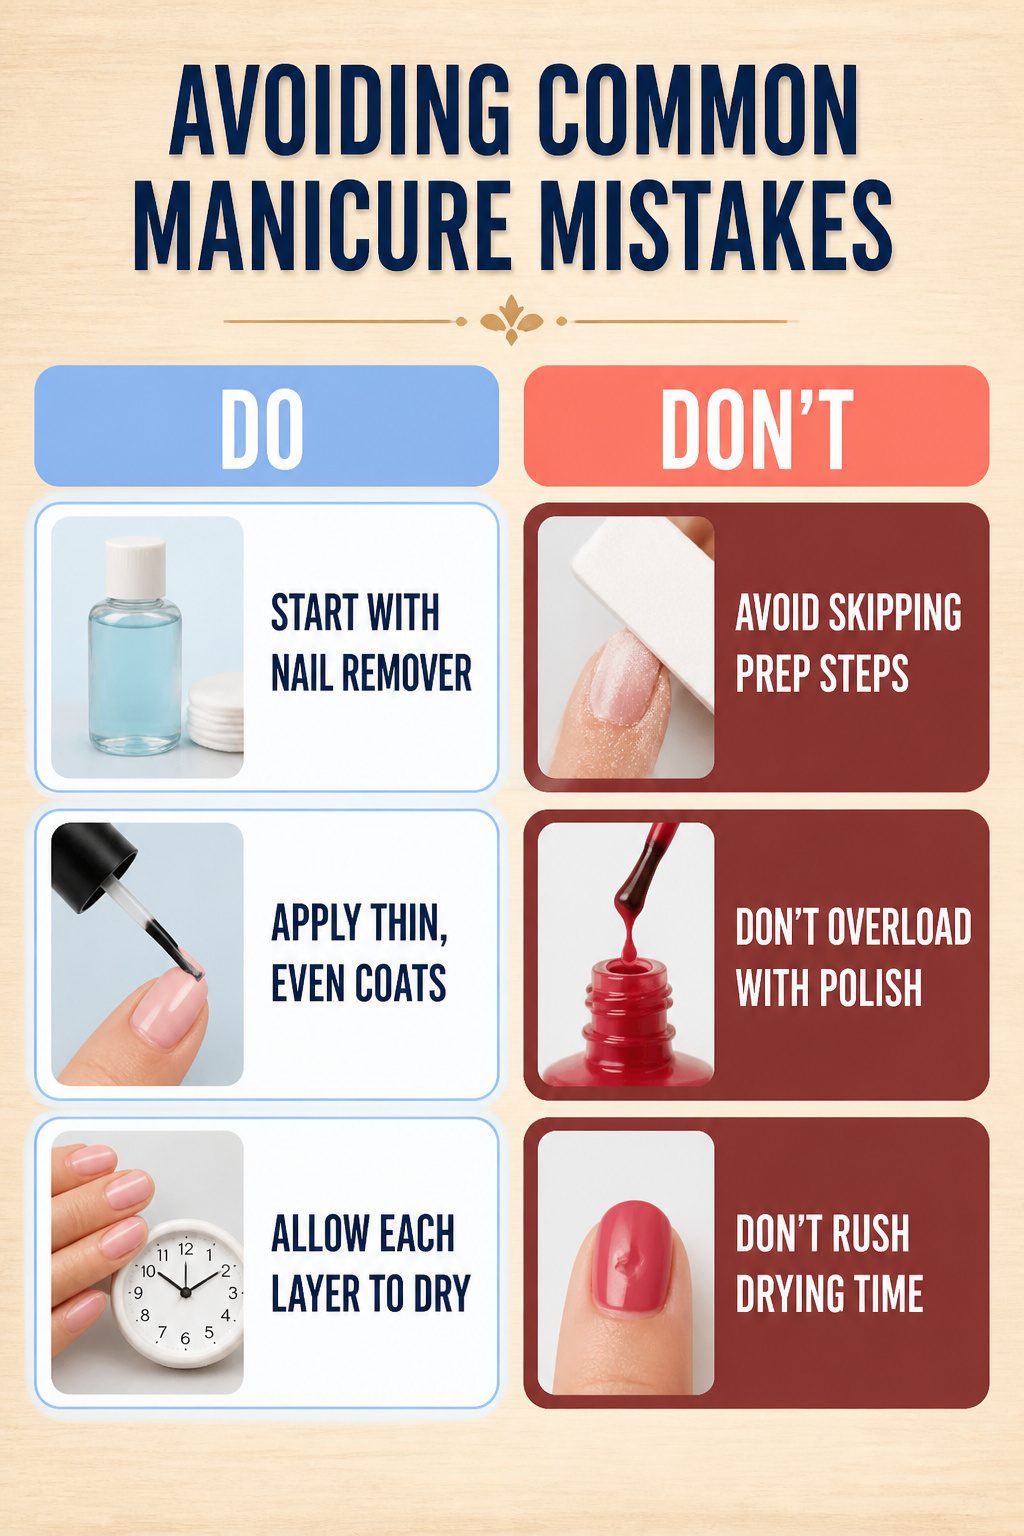
Three mistakes keep coming up in my own attempts, and they all trace back to impatience.
- Skipping the prep step with remover leaves dust from buffing and natural oils on the nail surface. Base coat and polish need a clean surface to grip, or they lift within a day or two.
- Applying too much polish in thick coats feels faster but backfires. The surface skins over while layers underneath stay wet; you press a fingerprint in at hour three.
- Not allowing adequate drying time is the one I still fight. Quick-dry products help, but they do not replace actual time for the coat to set fully. I have smudged more manicures at the ten-minute mark than I care to count.
Making It Last
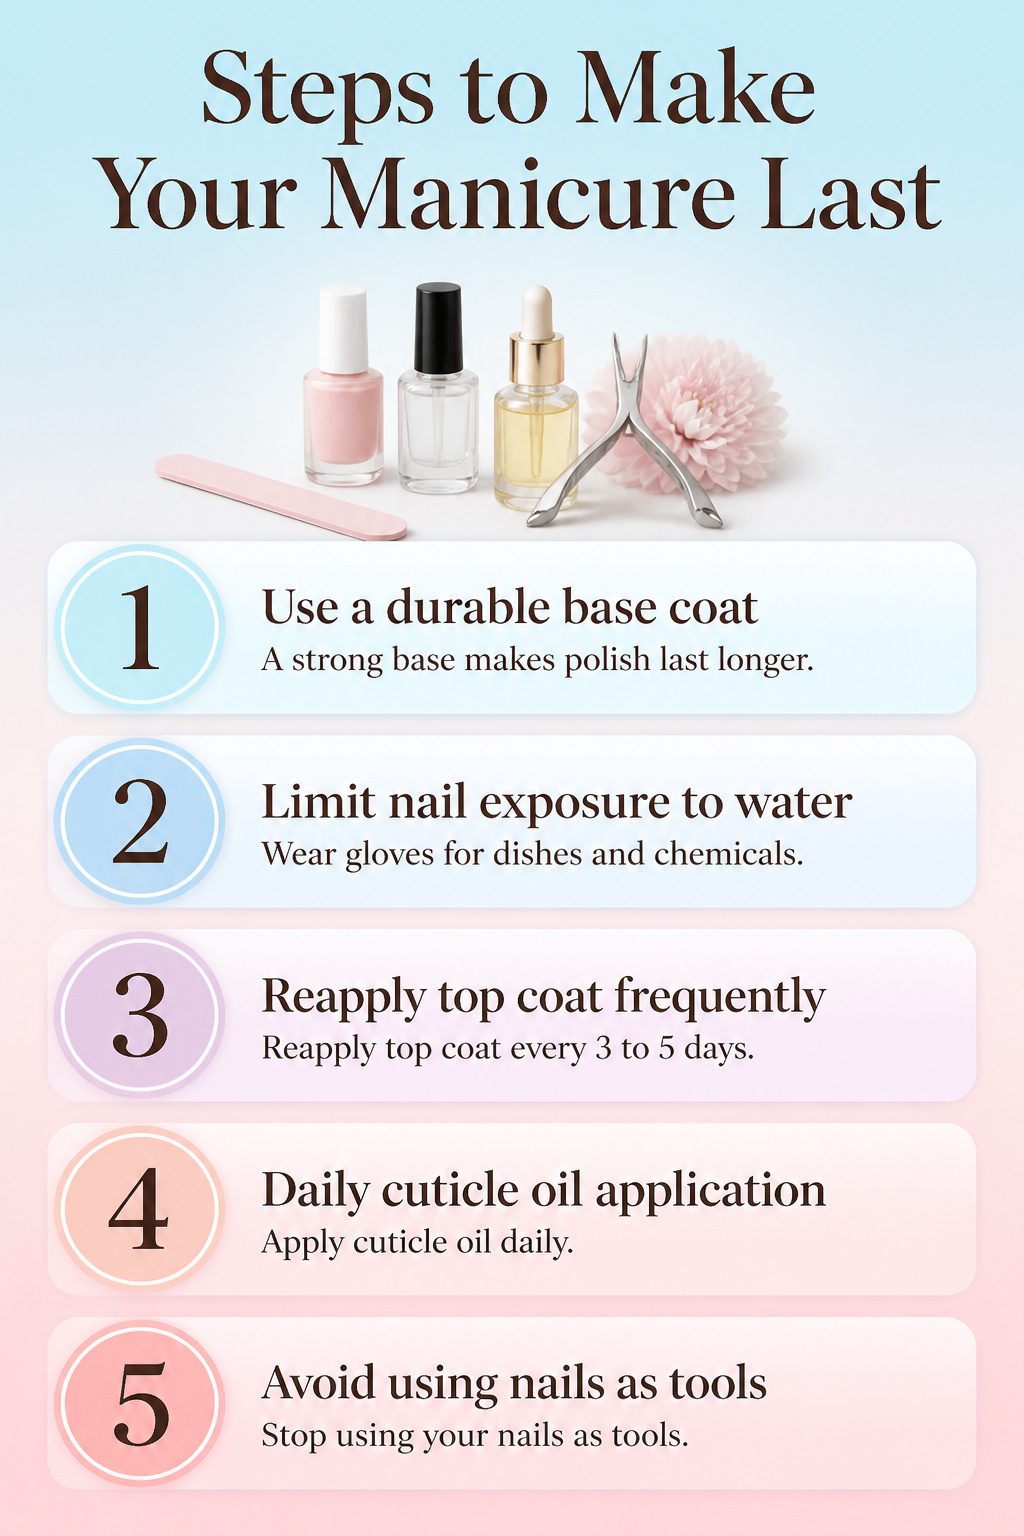
A home manicure can look flawless on day one and start peeling by Wednesday if you treat it like salon work. The products matter more than the technique. A durable base coat and long-lasting top coat do the heavy lifting, and skimping on either shows by day four.
Here’s what actually extends the wear:
- Keep nails out of water for long stretches. Submerging them softens the polish and lifts it from the nail bed. Wear gloves for dishes and anything involving chemicals.
- Reapply top coat every 3 to 5 days. This adds back shine and reinforces the layer that’s taking daily abuse.
- Apply cuticle oil daily. Dry cuticles drag the eye to every imperfection, and oil keeps the skin around the polish looking tended rather than chipped by association.
- Stop using your nails as tools. Open cans, scrape stickers, or pick at labels and the polish pays for it.
Frequently Asked Questions
What are the steps for a DIY manicure?
Clean your hands, remove old polish, trim and file nails, soak and push back cuticles, buff the nail plate, exfoliate and moisturize hands, apply base coat, add two thin coats of color, seal with top coat, and allow at least five minutes of drying time. Each step builds on the last, so skipping prep means polish lifts within a day or two.
How can I make my manicure last longer?
Use a durable base coat and long-lasting top coat, keep nails out of water for long stretches, reapply top coat every three to five days, and apply cuticle oil daily. Wearing gloves for dishes and avoiding nail biting also protects the finish.
What tools do I need for a home manicure?
You need nail polish remover, cotton pads, nail clippers, a nail file, a 240-grit buffer, a cuticle pusher, a cuticle nipper for hangnails only, base coat, nail polish, top coat, hand lotion, and cuticle oil. Having everything within arm’s reach before you start prevents smudges from mid-mani runs across the room.